
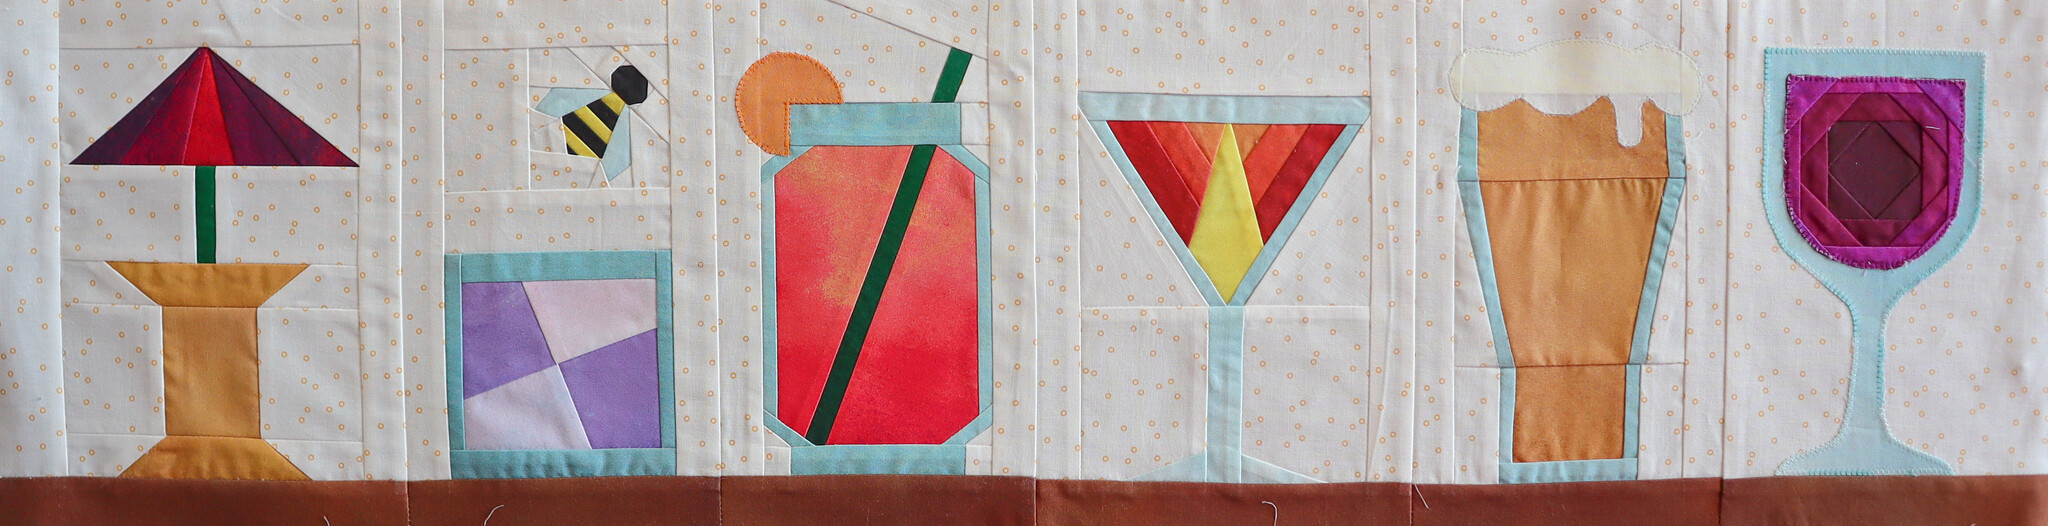
Row by Row Paper Piecing
There are two different methods we like to use when paper piecing out blocks: The Freezer Paper Method and Foundation Paper Piecing. We've included instructions below for both!
The Freezer Paper Method
Tools needed:
- Add-A-Quarter Ruler (this comes in a 6" length, an 18" length, or a combo pack)
- Freezer Paper
- Cardstock (a bookmark or postcard will work nicely!)
- 50wt thread
- Iron
- Sewing machine
- Pencil (optional)
- Open toe appliqué foot (optional)
Instructions:
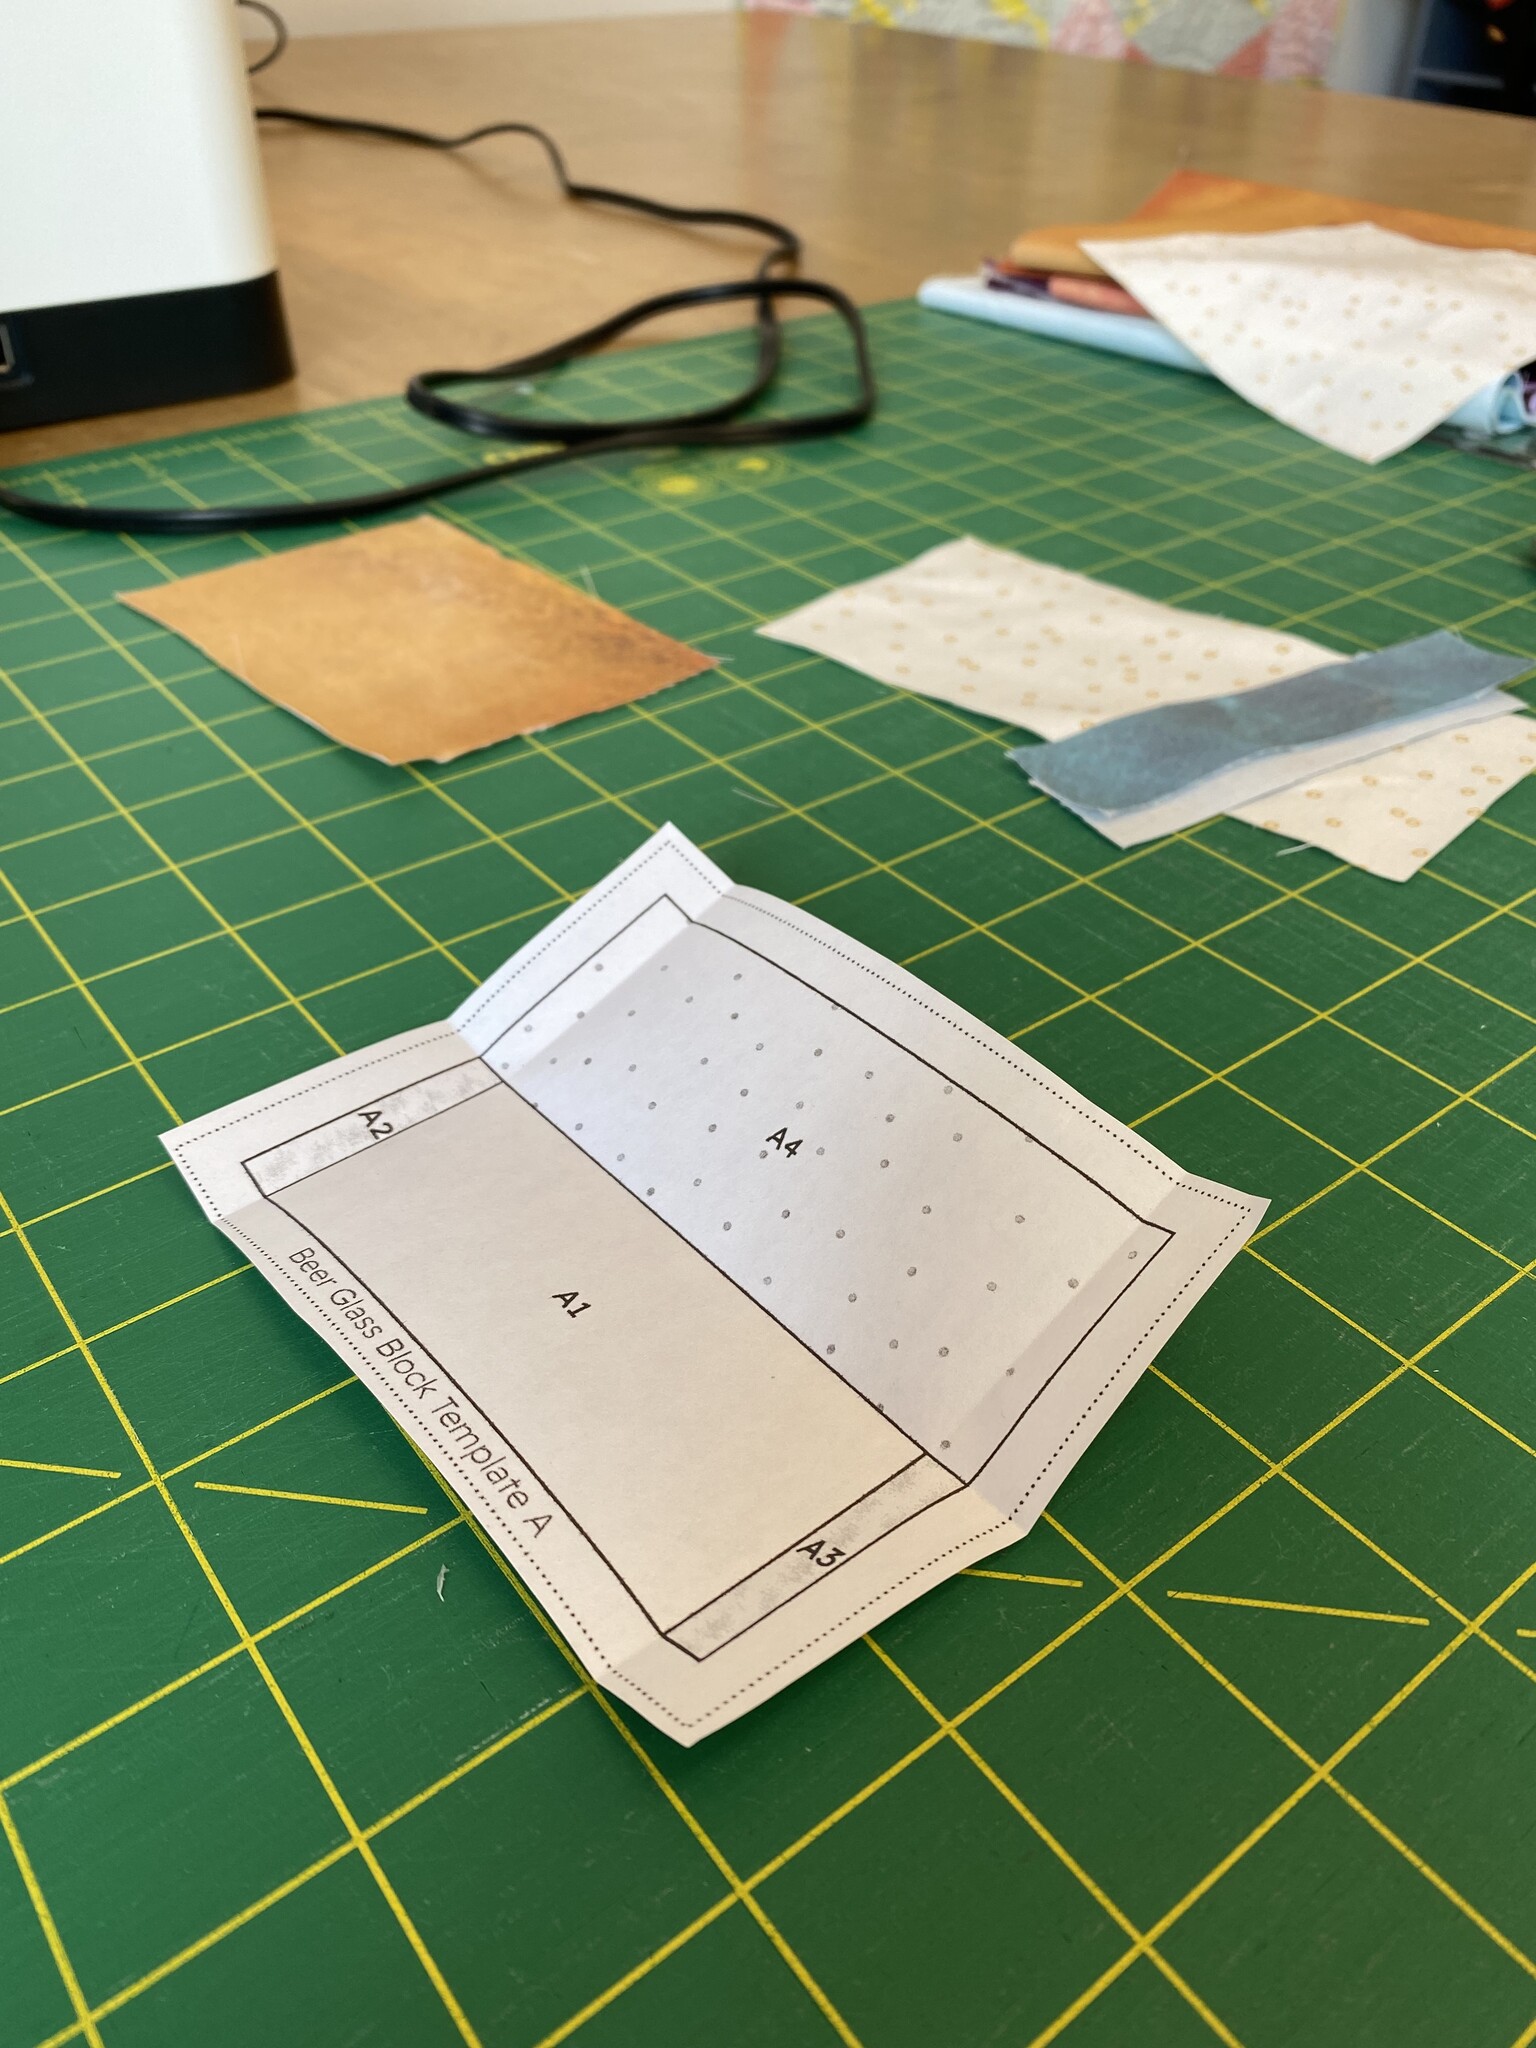
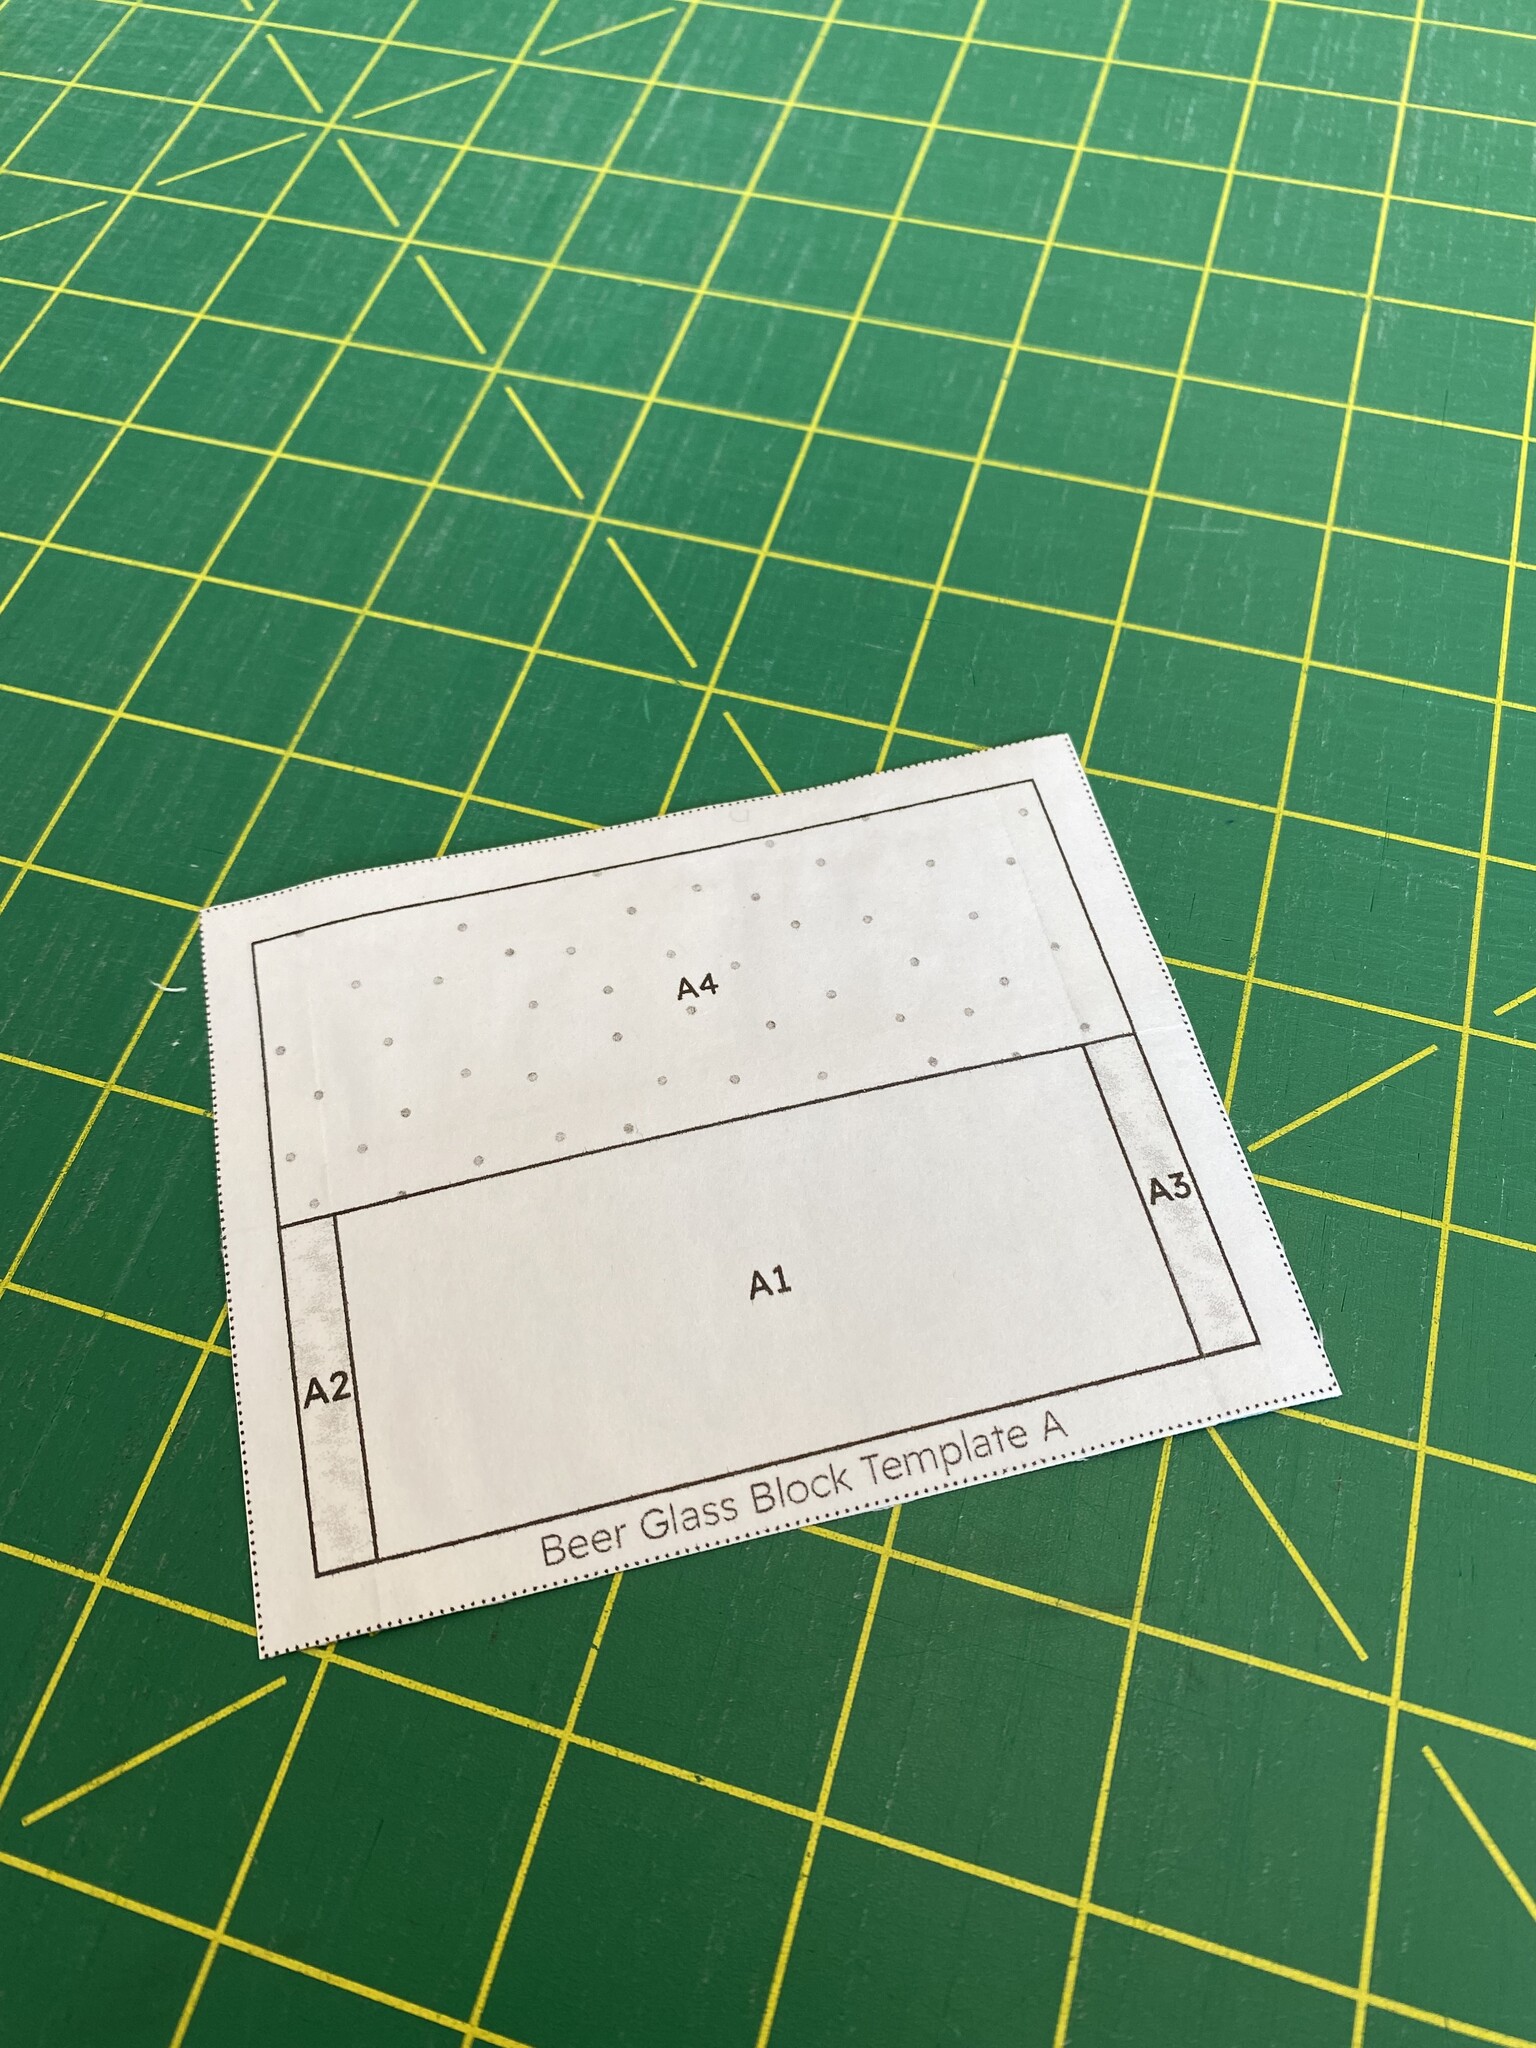
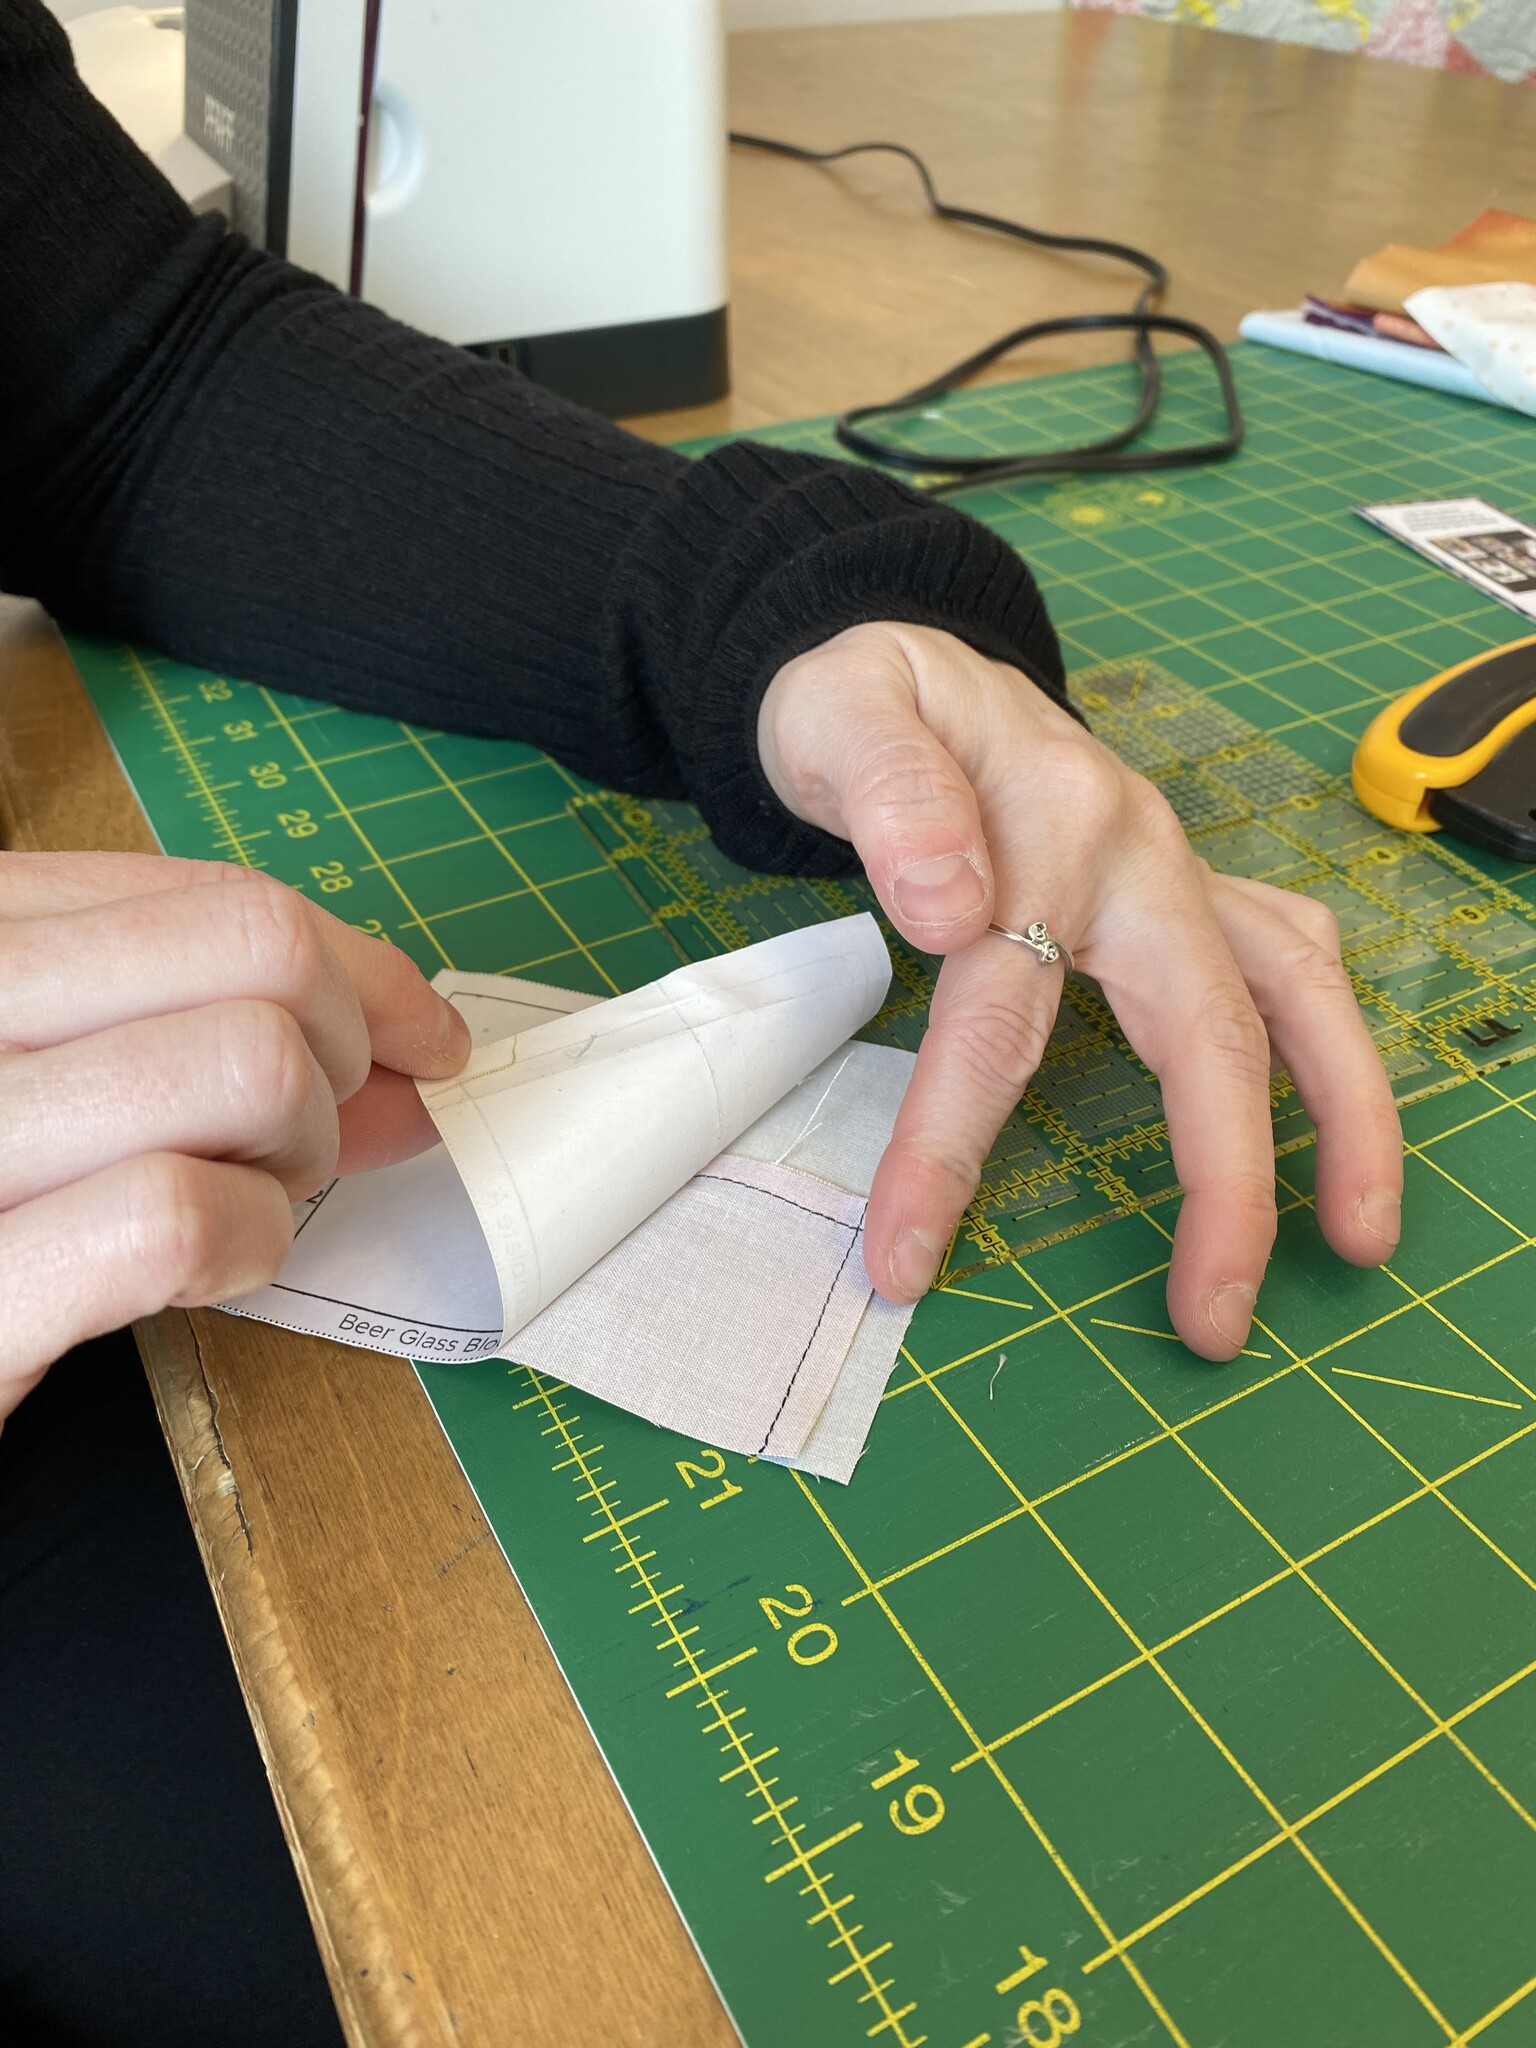
Step 1: Print or trace (using pencil) your pattern onto the matte side of the freezer paper and label all pieces of the pattern if they aren't already.
Step 2: Pre-fold along all sewing lines.
Step 3: With the wrong side against the shiny side of the freezer paper, iron on your first piece of fabric with the shiny side down to protect your iron.
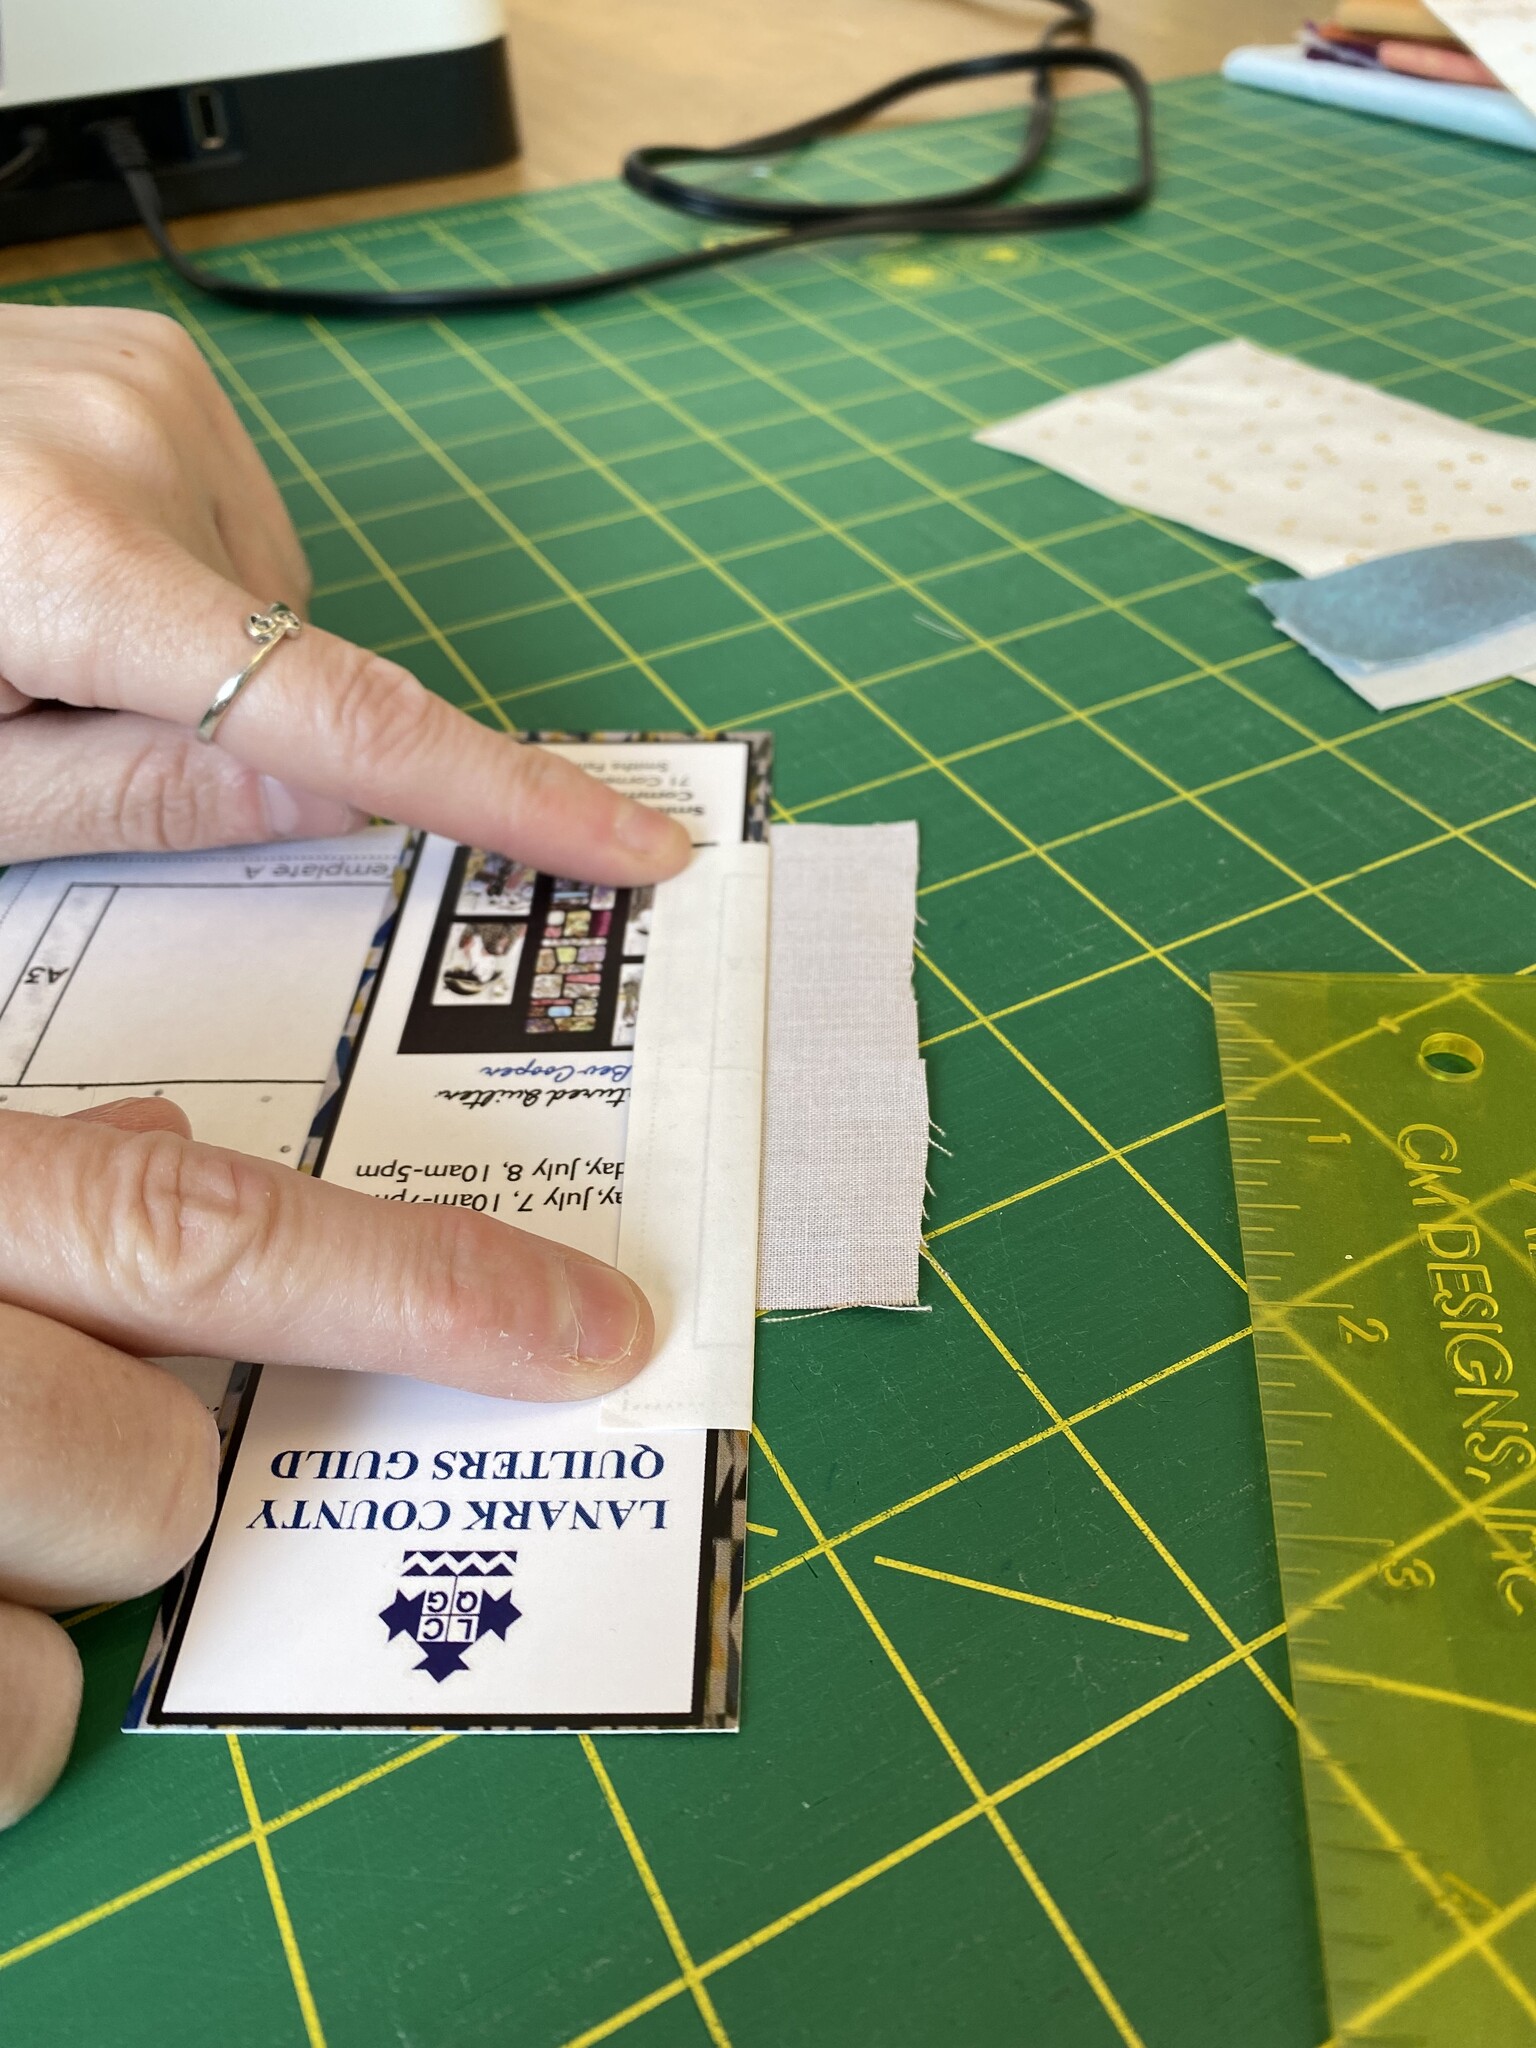
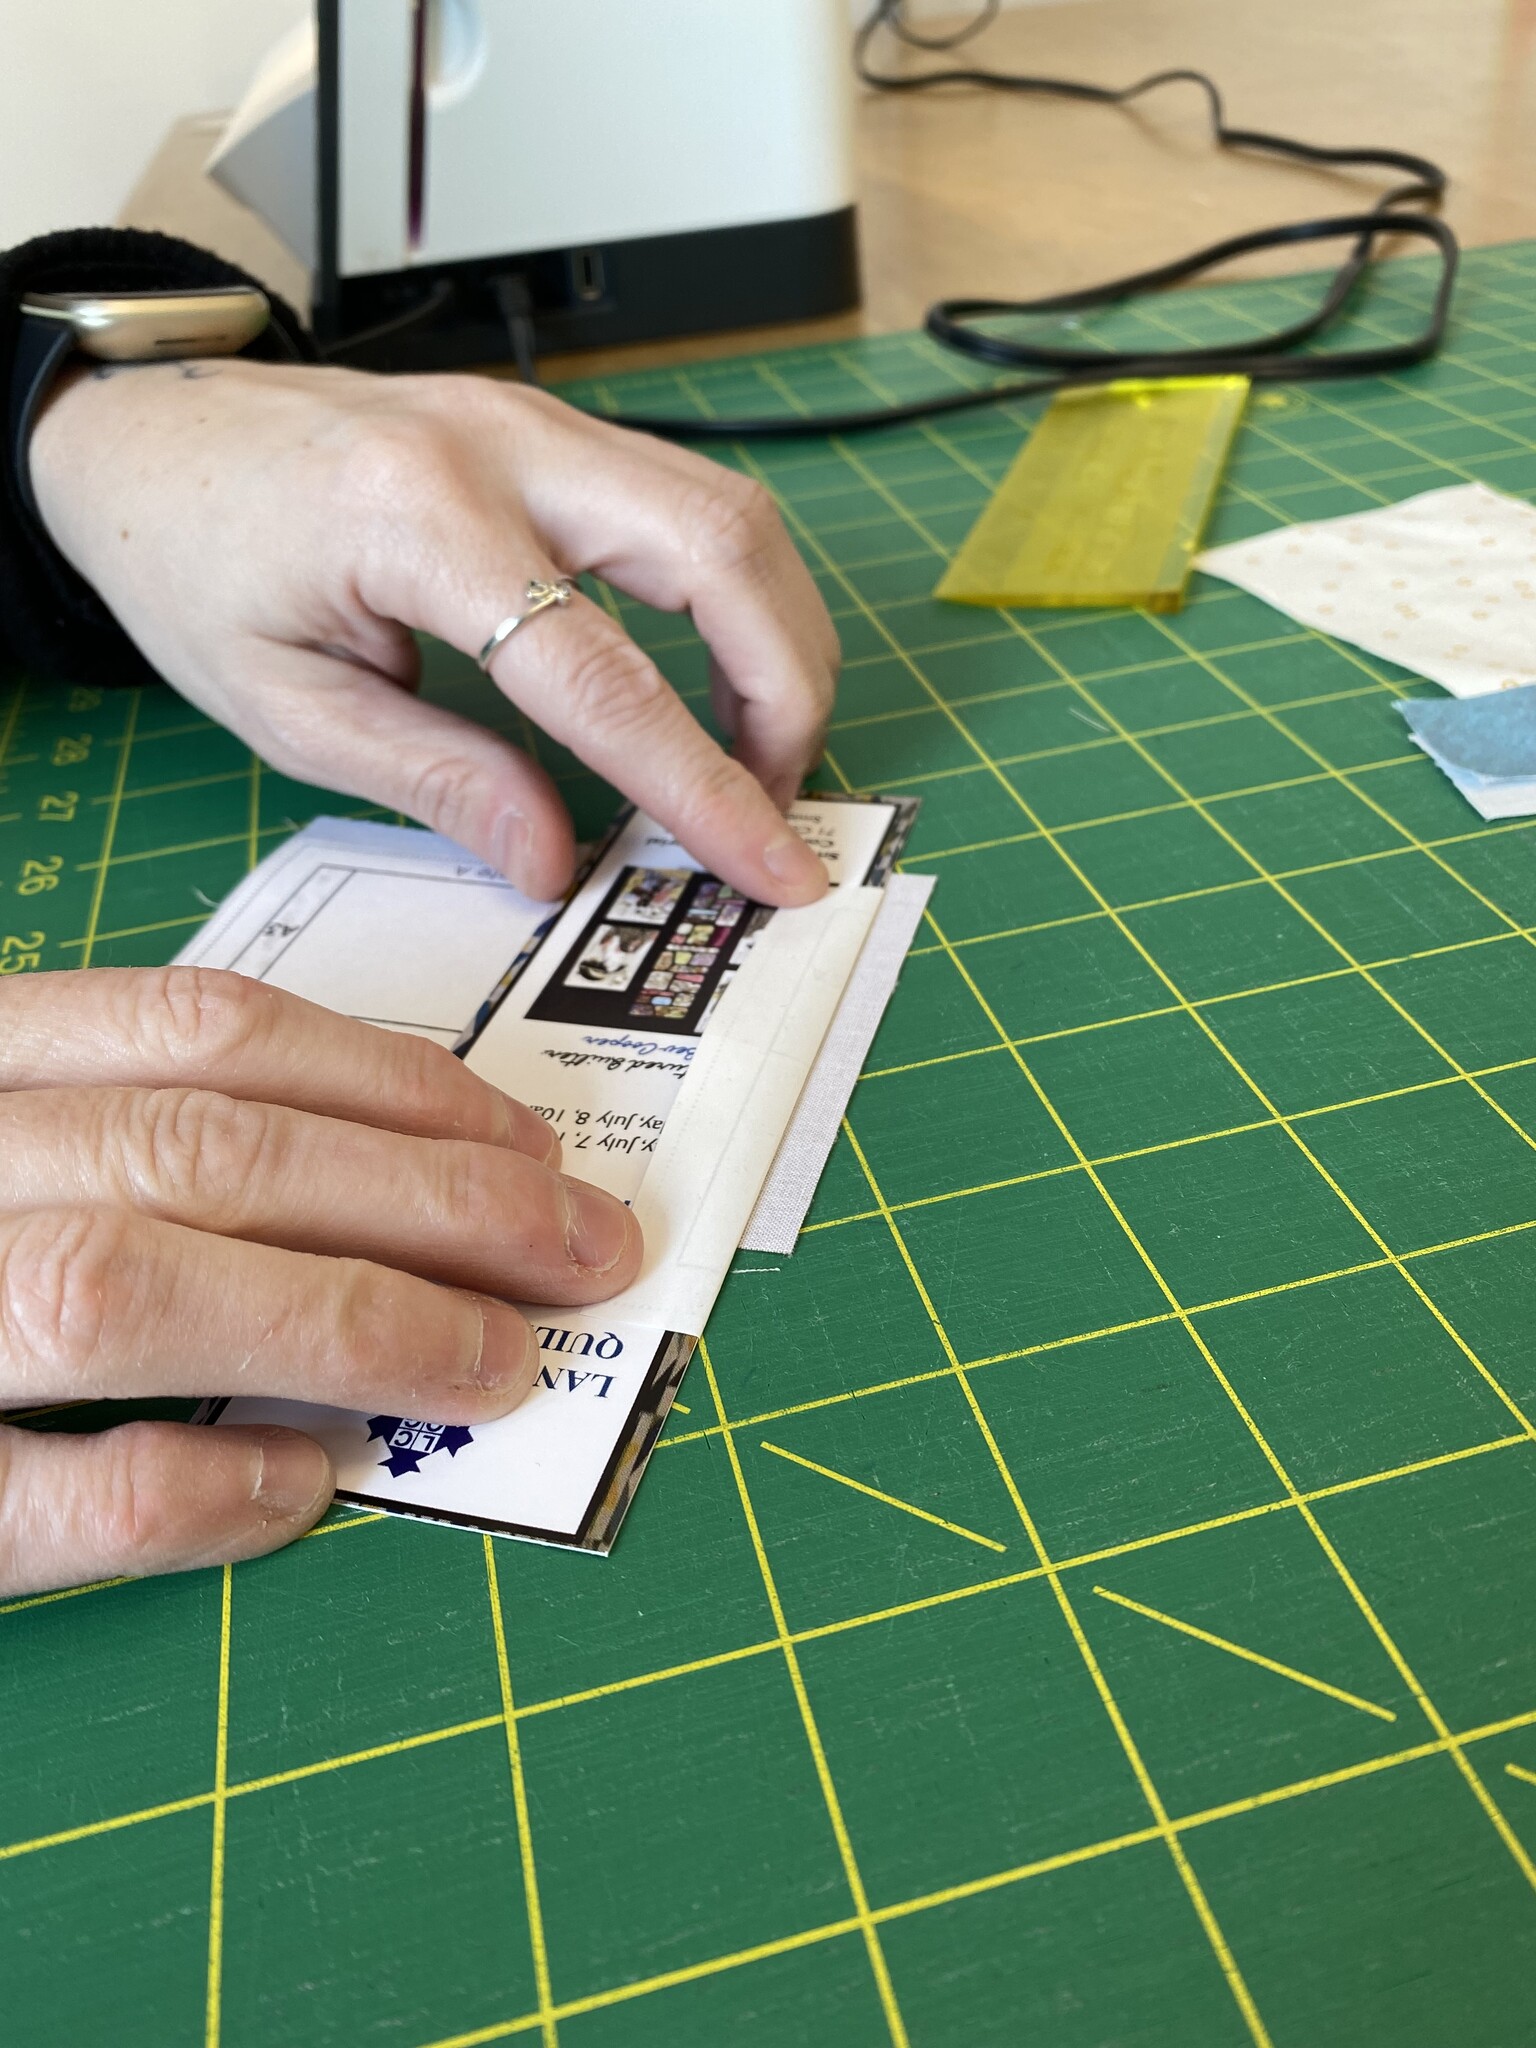
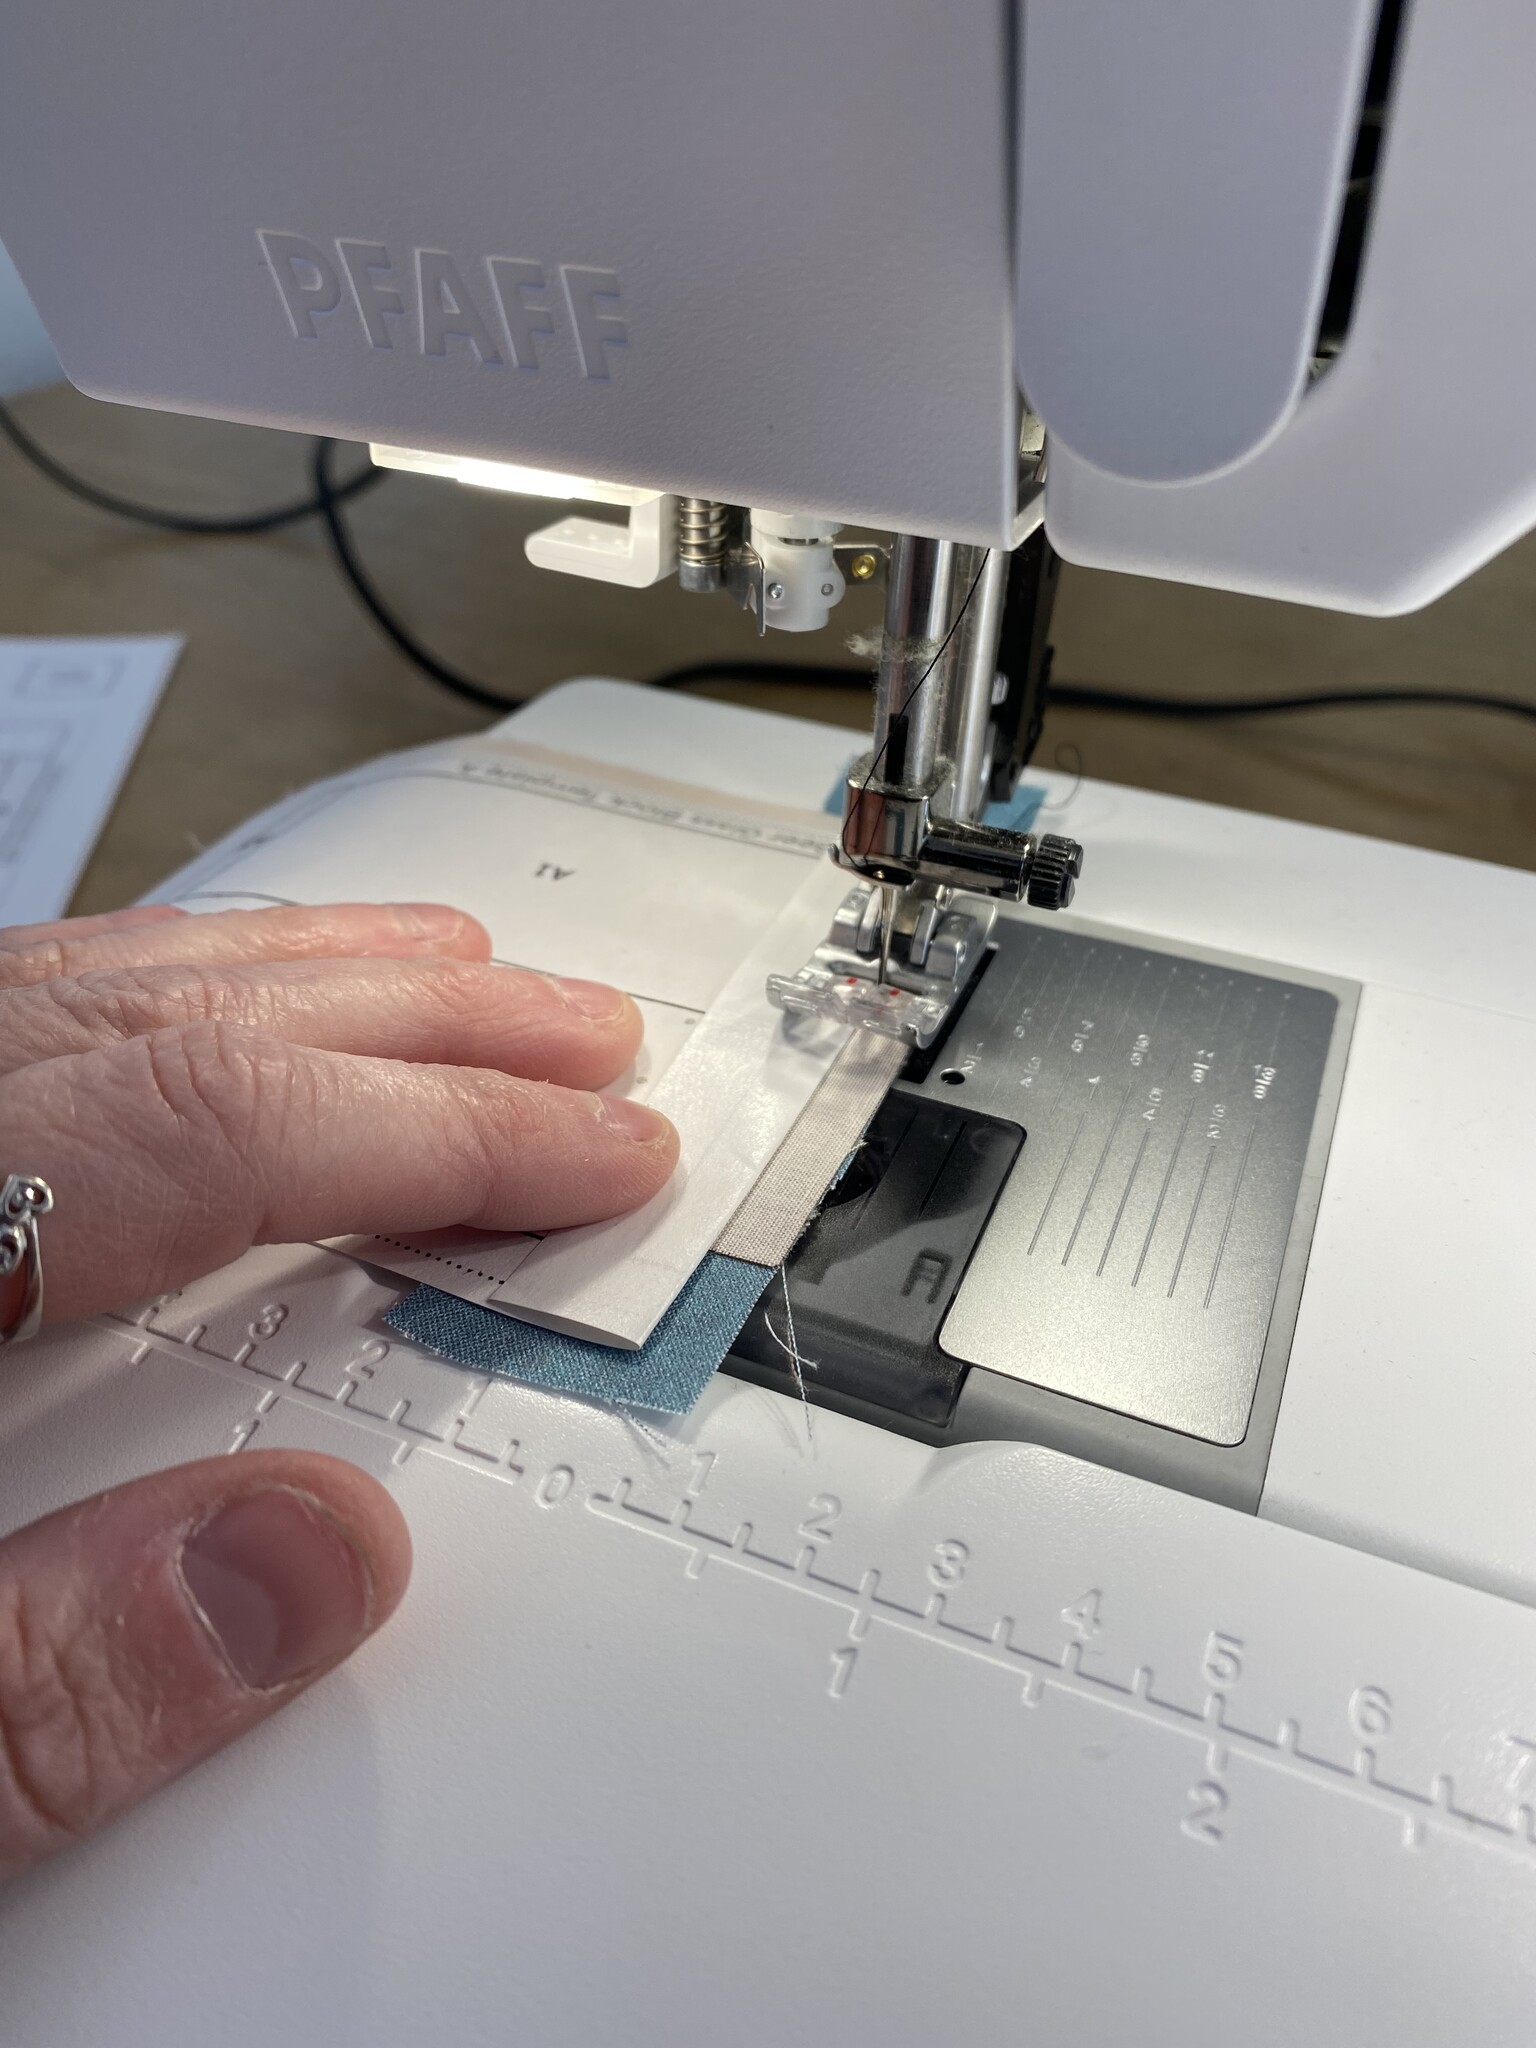
Step 4: Fold along the line between the first and second section with your cardstock inbetween and use your Add-A-Quarter Ruler to trim away excess fabric, leaving a perfect 1/4" seam allowance.
Step 5: With right sides together, sew fabric piece 2 and fabric piece 1 together next to the folded line.
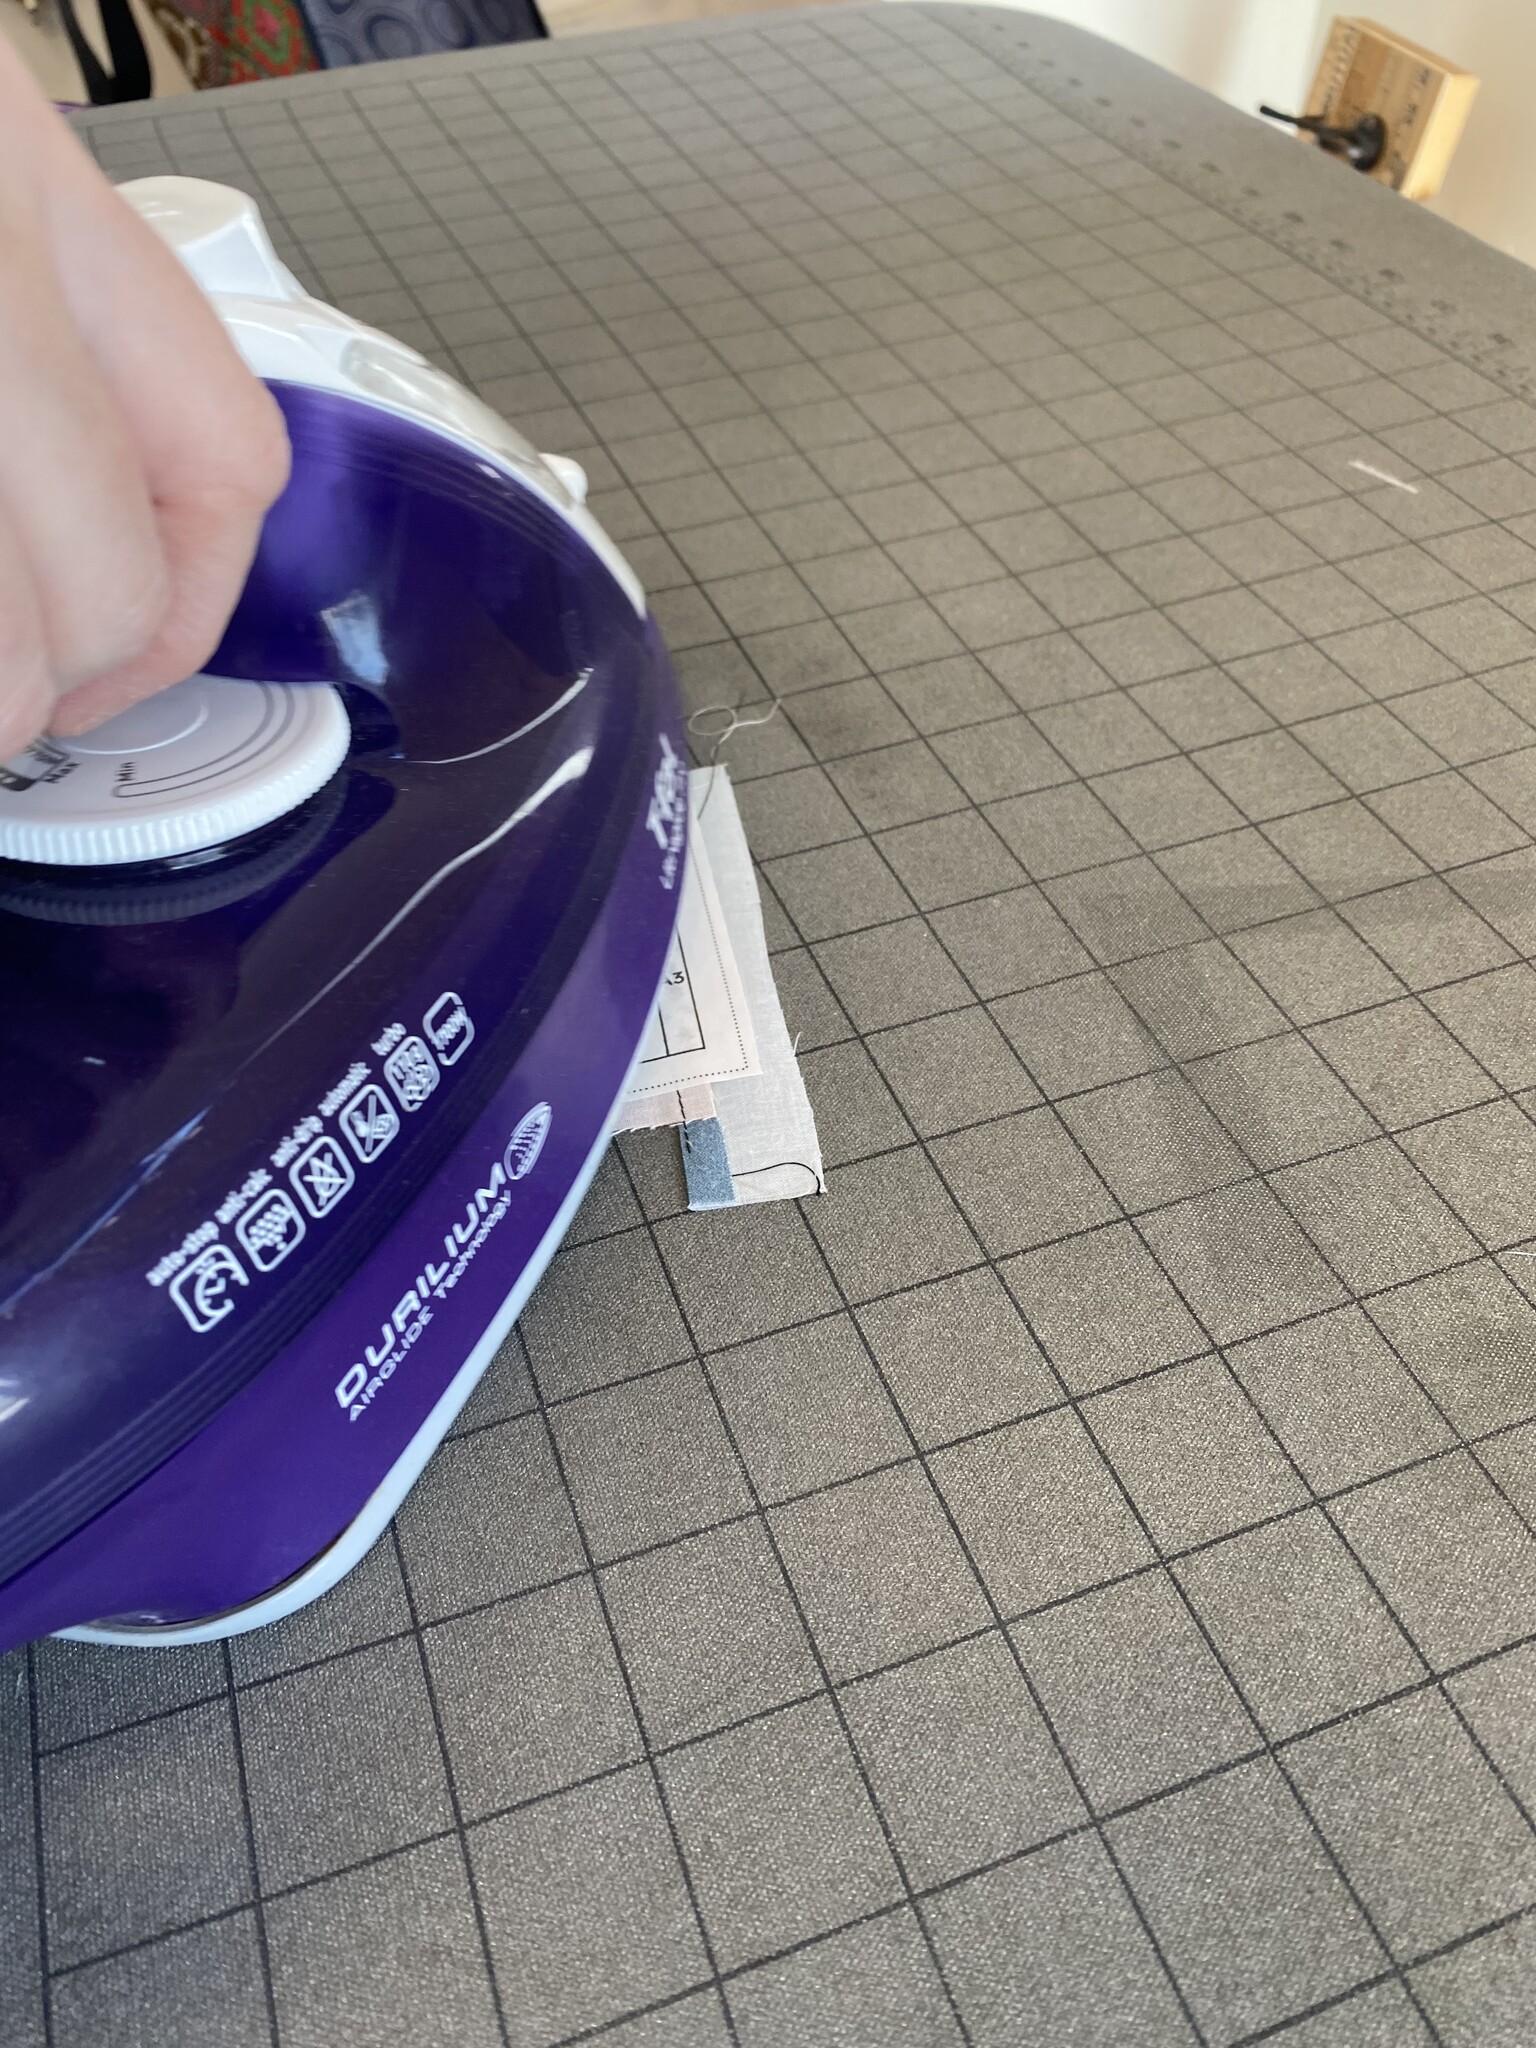
Step 6: Fold and press piece 2 fabric up onto section two of your pattern.
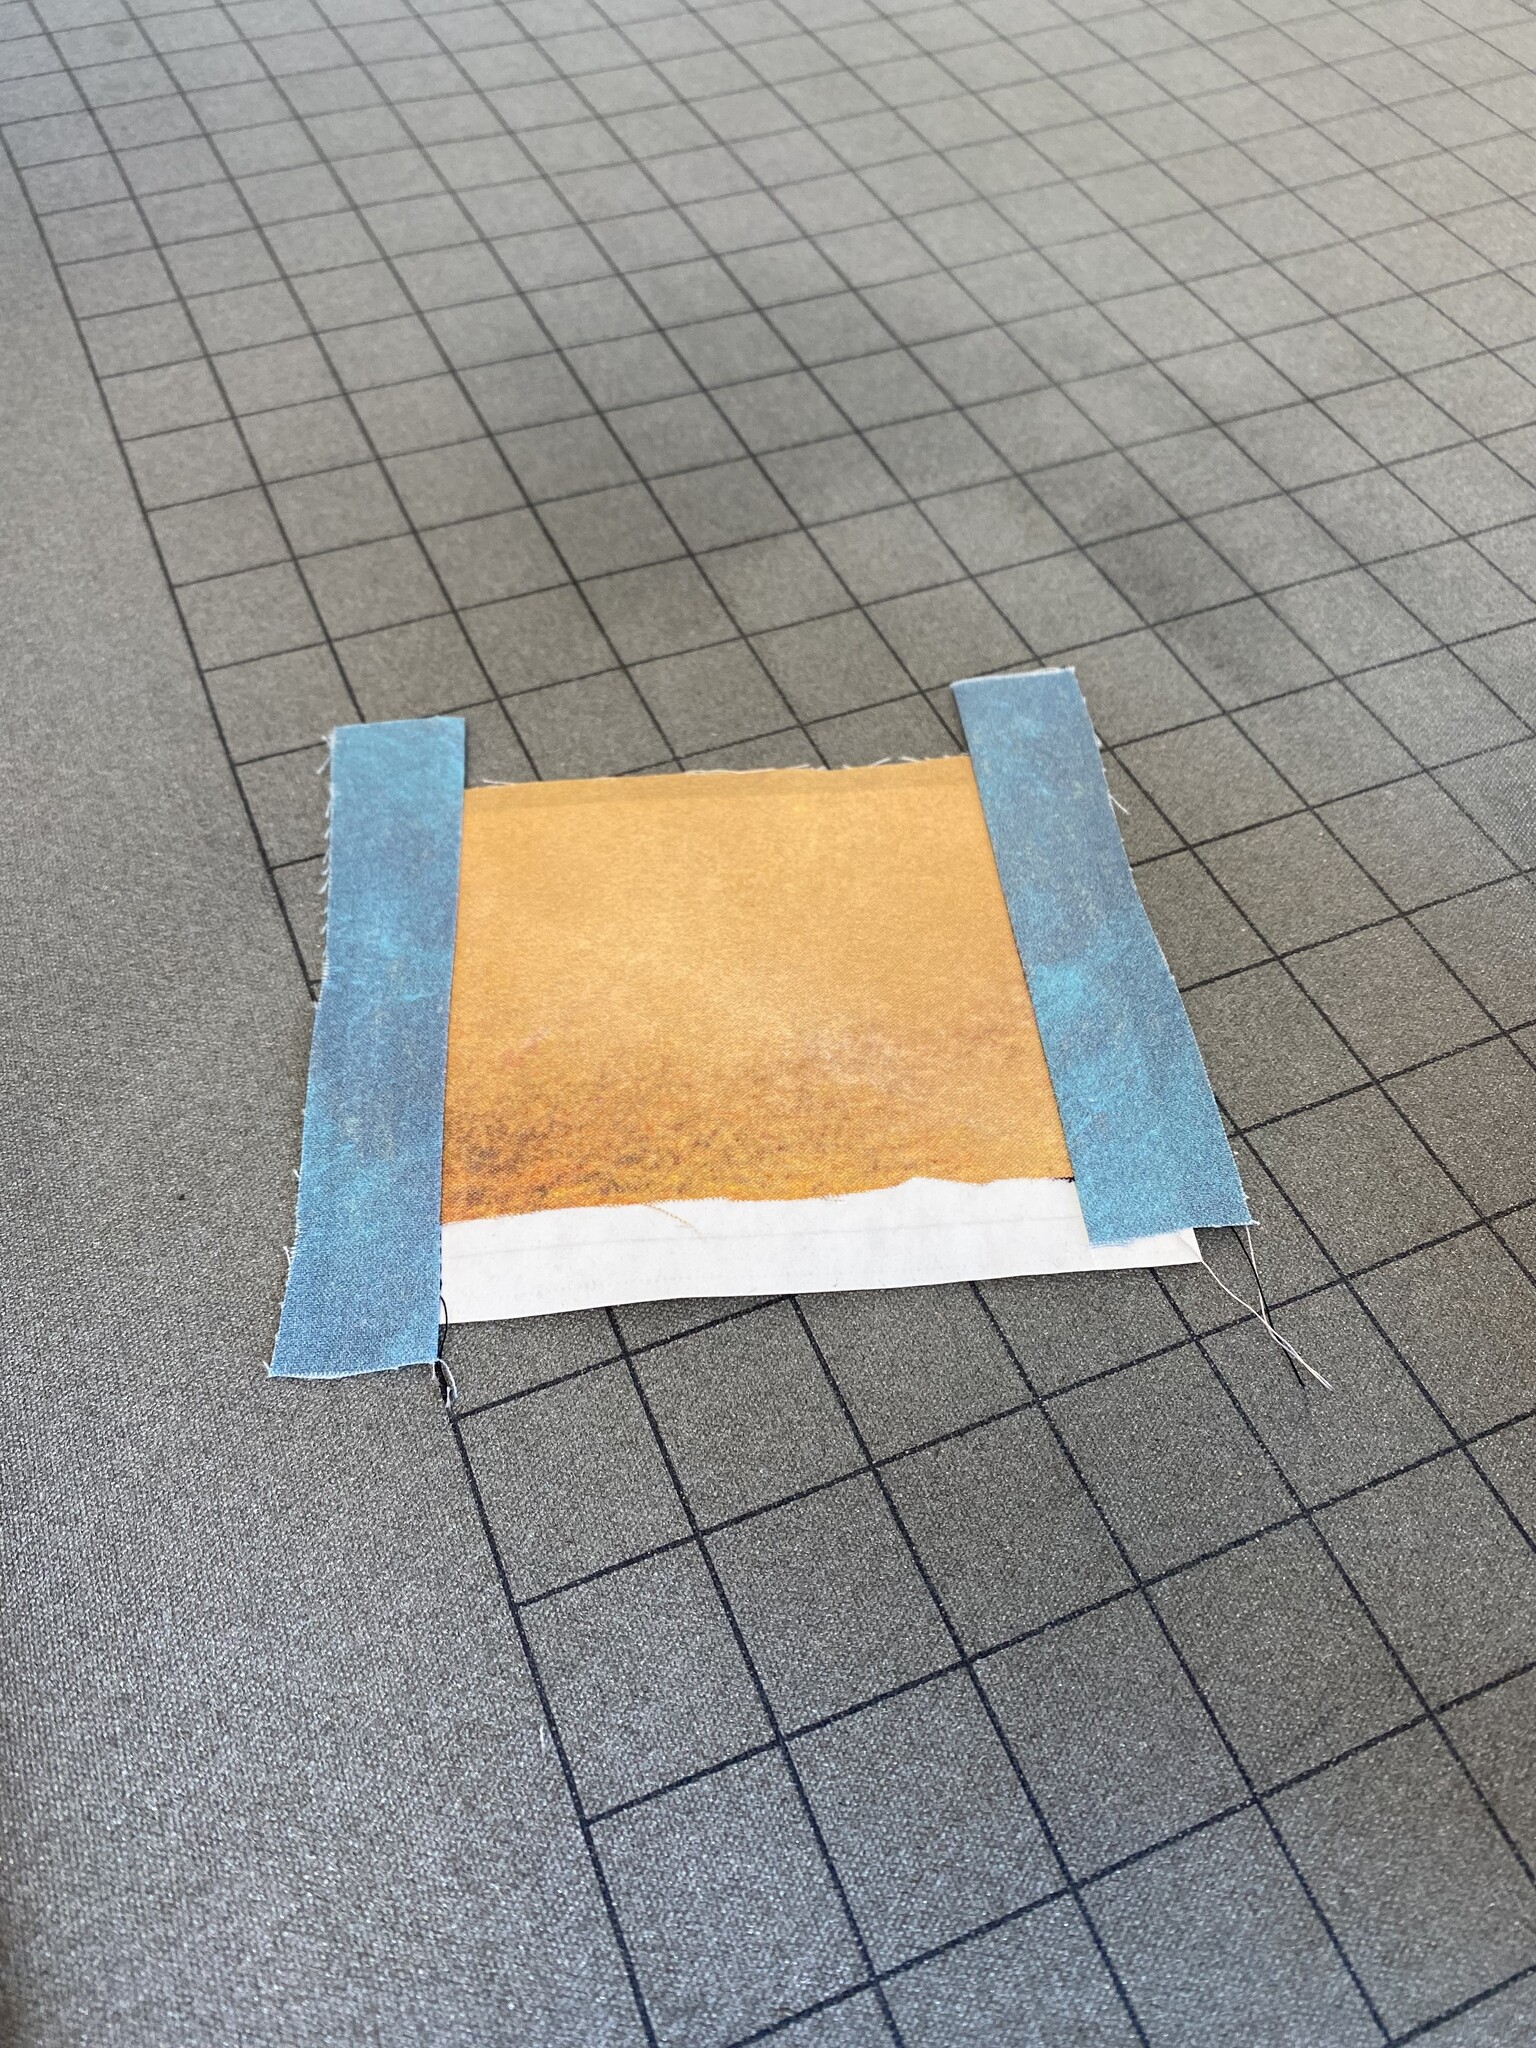
Step 7: Repeat steps 4-6 for all sections.
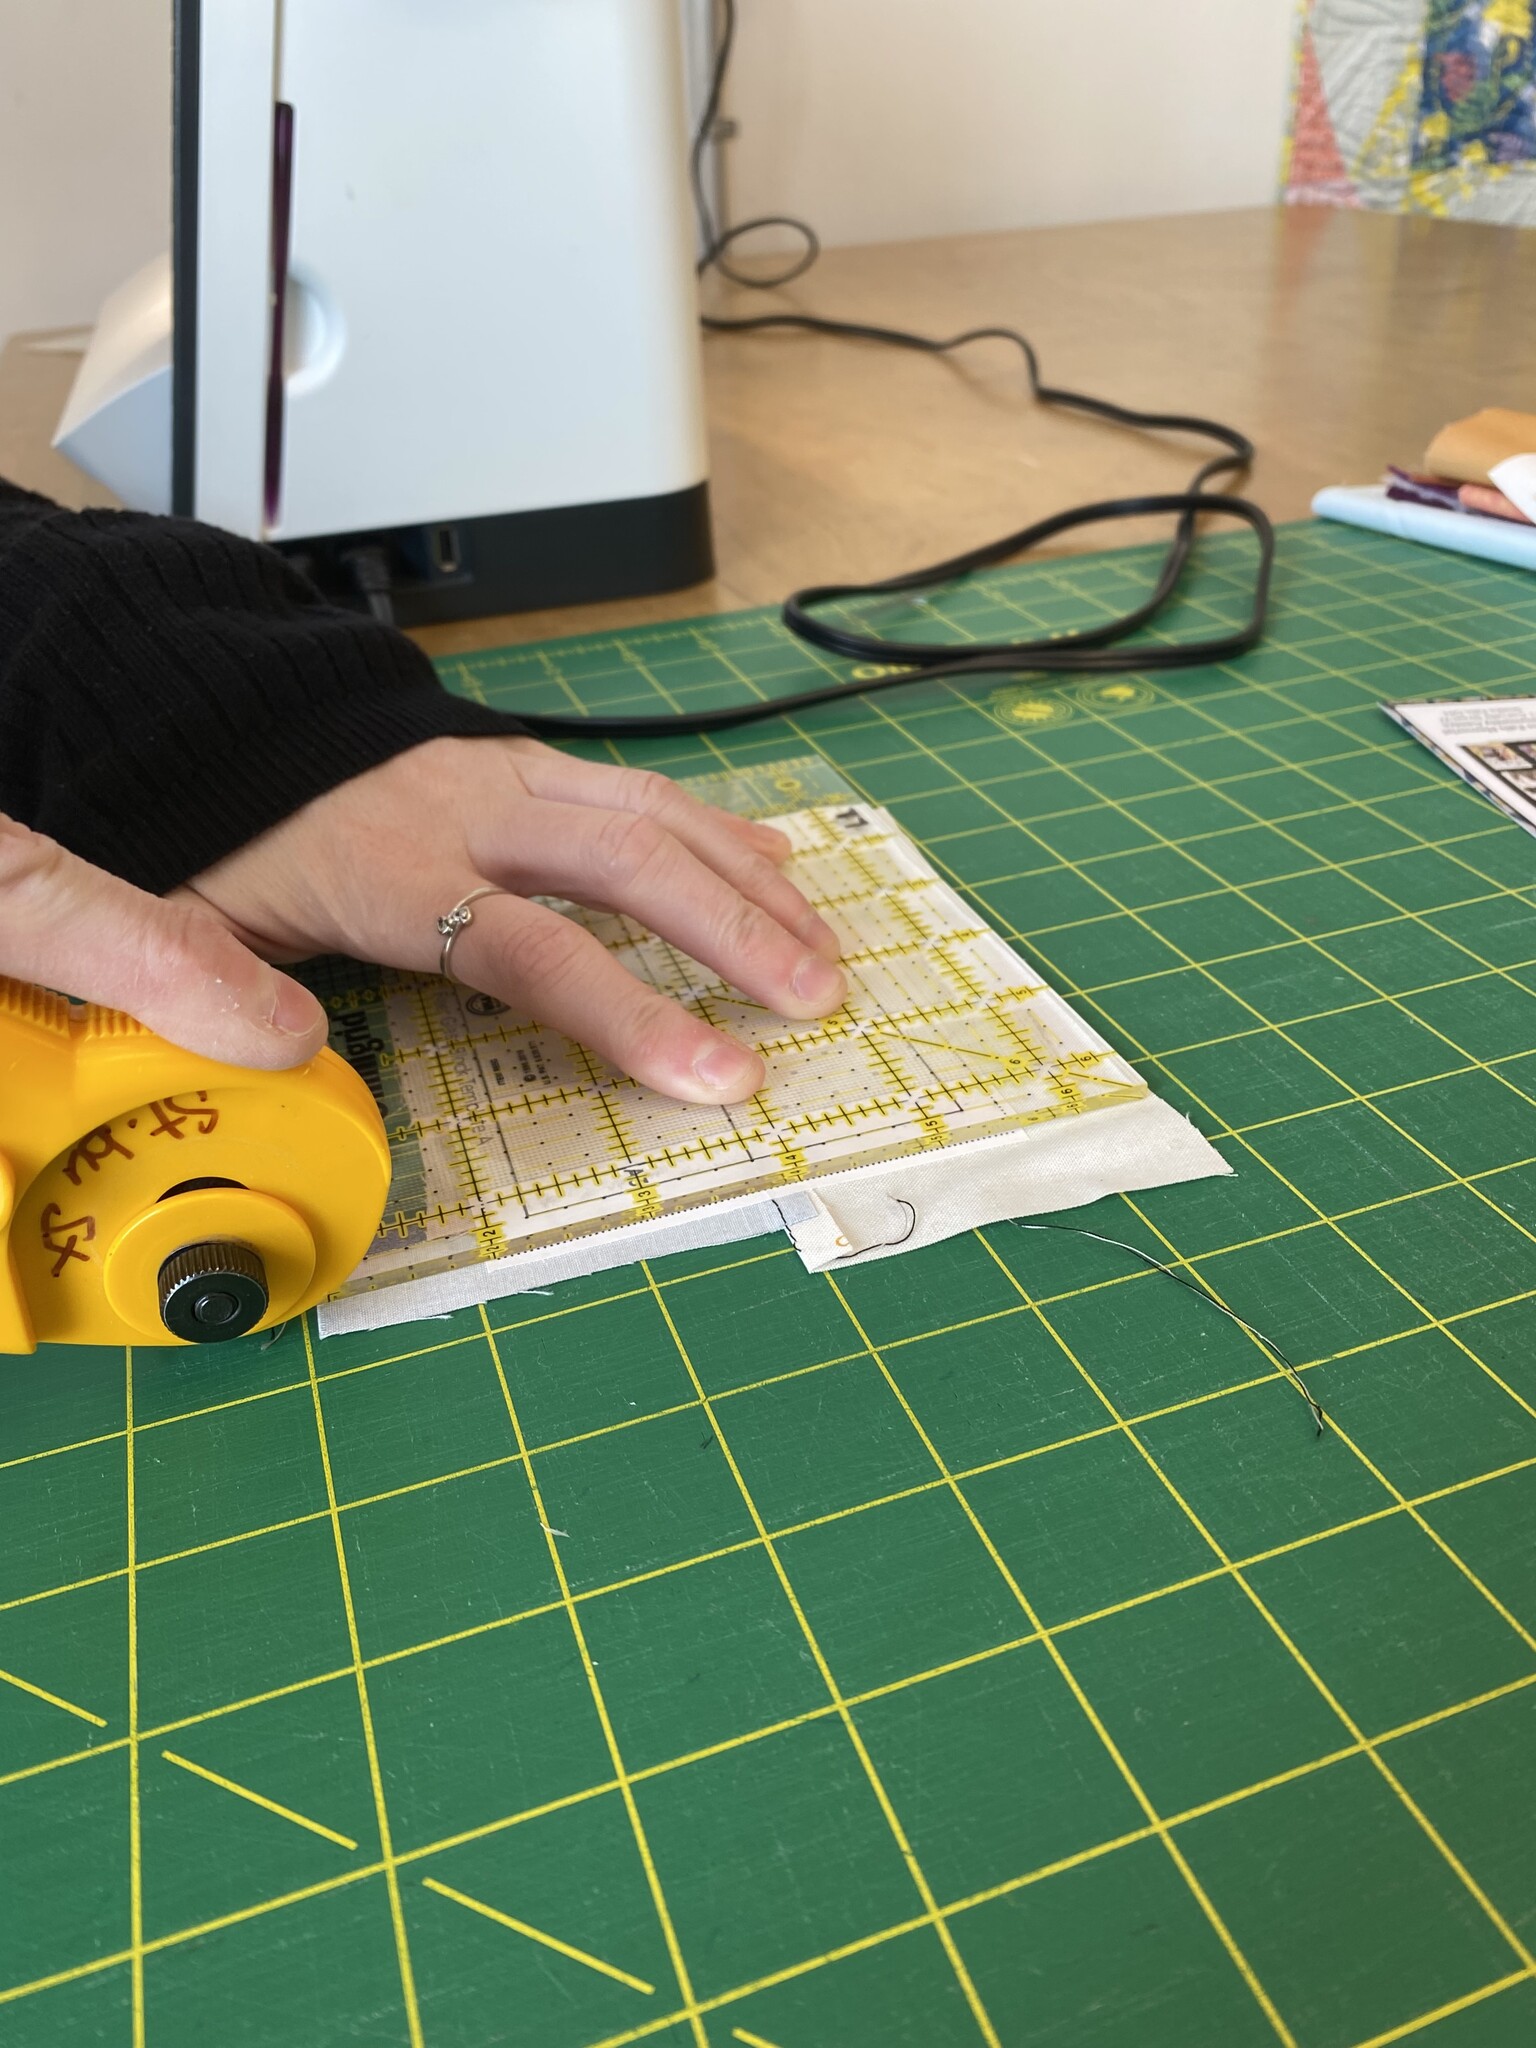
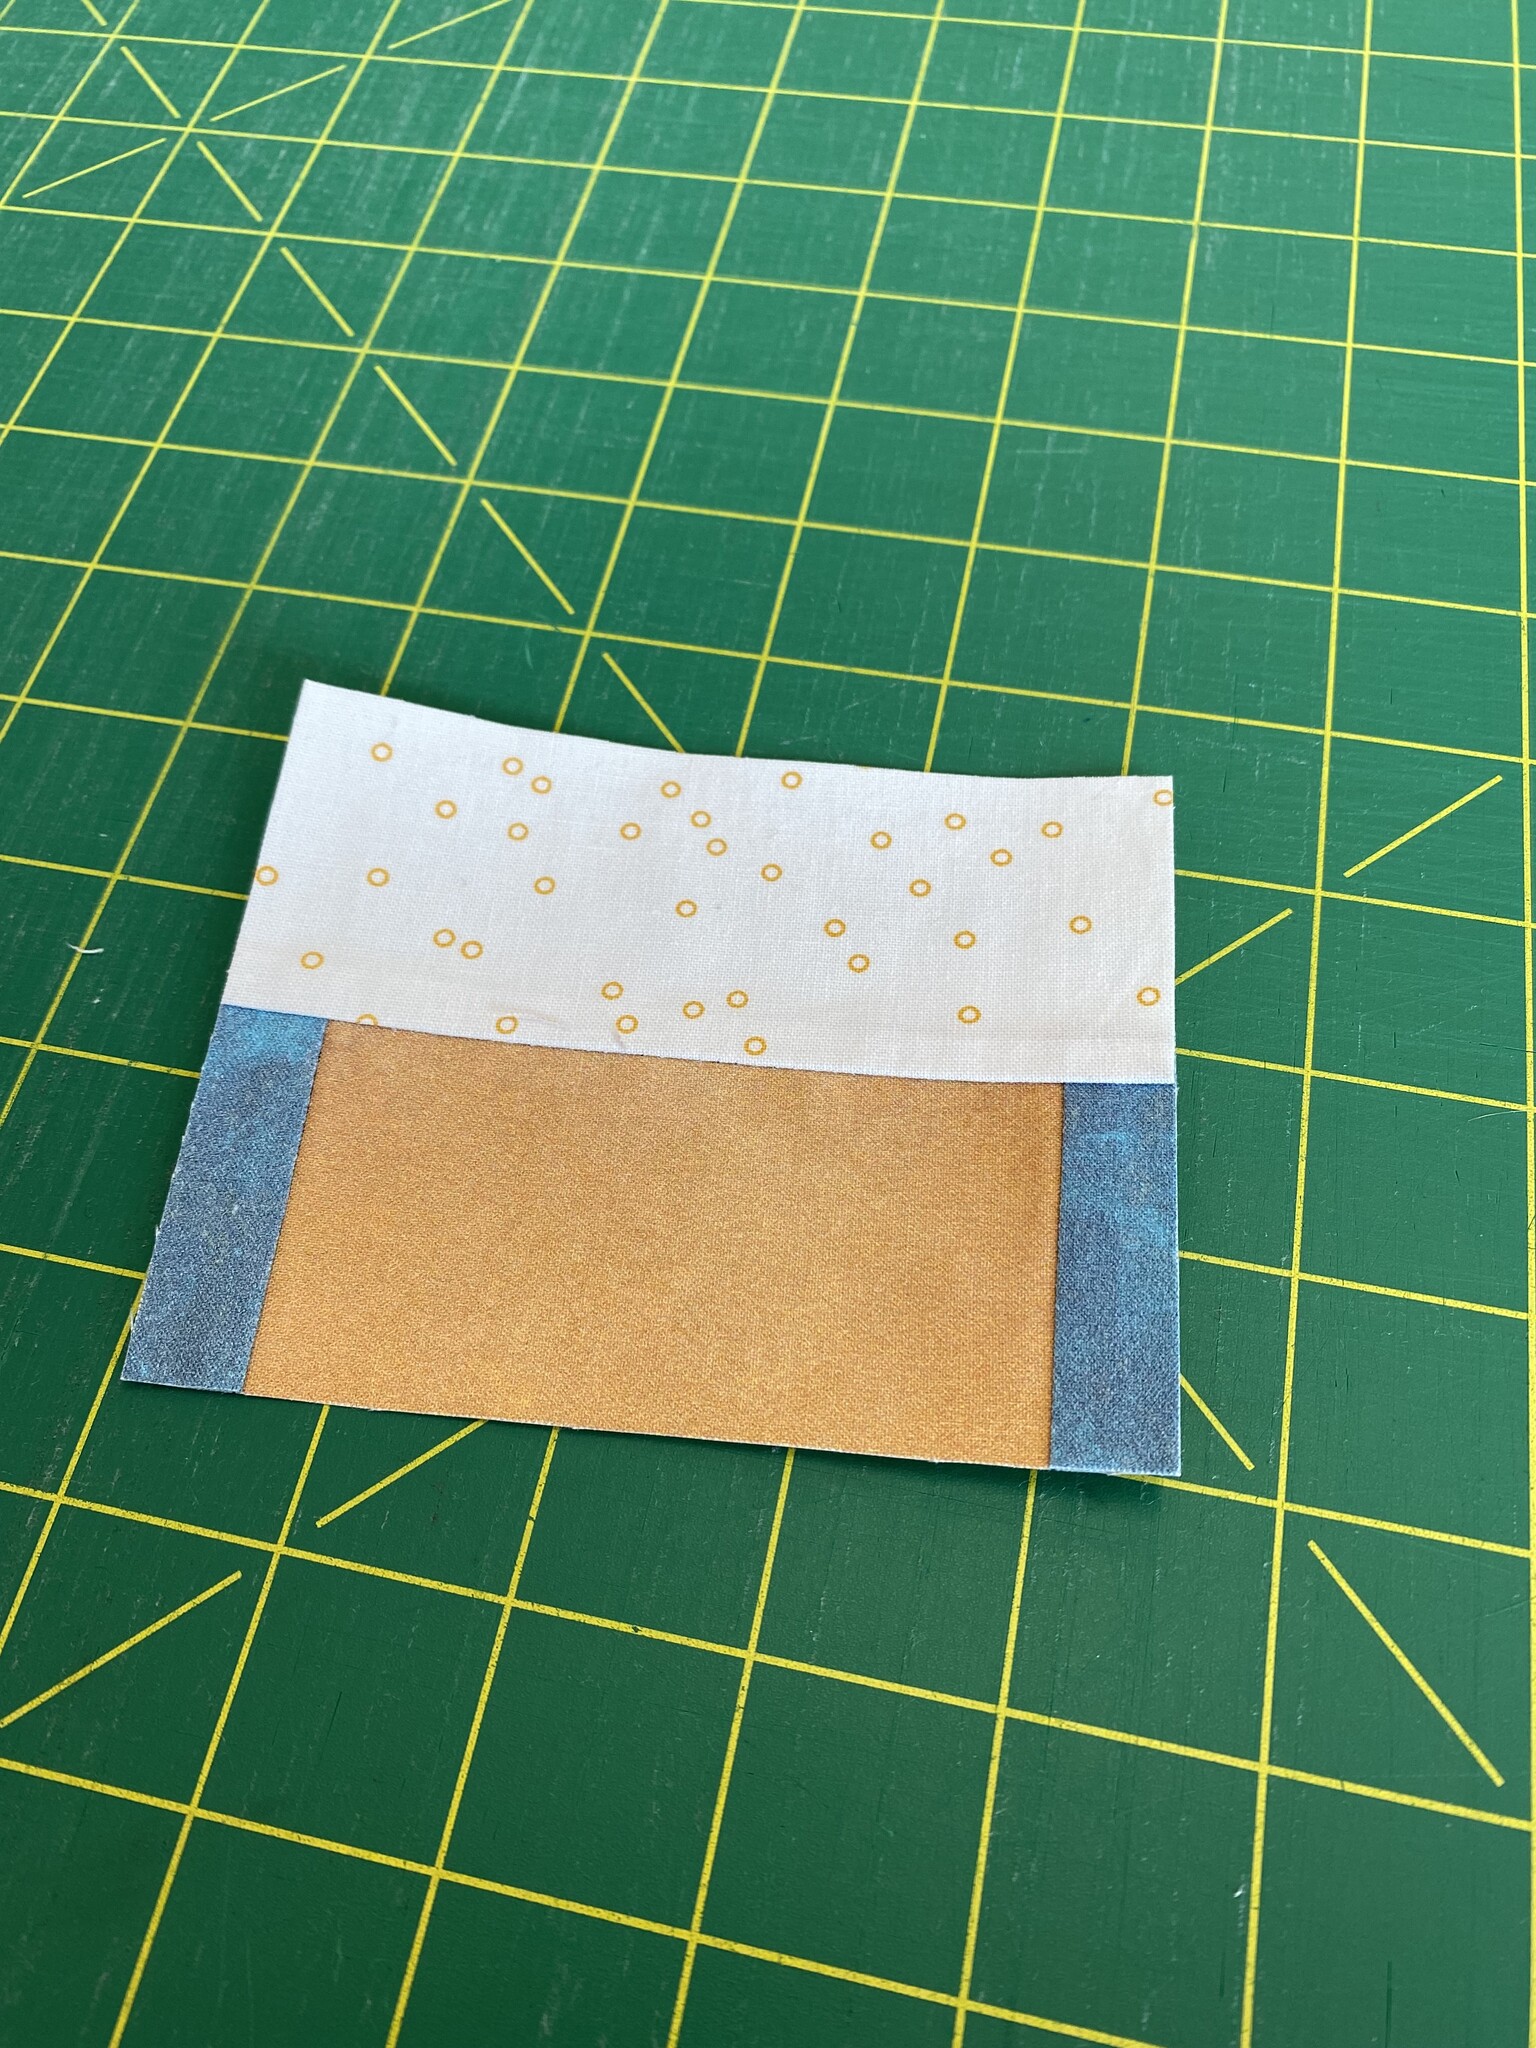
Step 8: Once you have all sections sewn together and fused to the freezer paper, trim your unit along the dotted lines (this is your seam allowance).
*Do NOT remove the freezer paper until you have completed Step 8*
Foundation Paper Piecing
Tools needed:
- Add-A-Quarter Ruler (this comes in a 6" length, an 18" length, or a combo pack)
- Foundation Paper
- Cardstock (a bookmark or postcard will work nicely!)
- 50wt thread
- Finger presser
- Sewing machine
- Pencil (optional)
- Open toe appliqué foot (optional)
Instructions:
Step 1: Print or trace (using pencil) your pattern onto the foundation paper and label all pieces of the pattern if they aren't already.
Step 2: Pre-fold along all sewing lines.
Step 3: With the wrong sides together, attach fabric piece 1 to section 1 using a glue stick (acid free) or pins.
Step 4: Fold along the line between the first and second section with your cardstock in between and use your Add-A-Quarter Ruler to trim away excess fabric, leaving a perfect 1/4" seam allowance.
Step 5: Glue or pin fabric piece 2 and fabric piece 1 together and sew directly on the sewing line between the two sections with a 1.5 stitch length (this helps perforate the paper making it easier to remove when finished). *Tip: Using an open toe appliqué foot helps to be able to see the line better!
Step 6: Finger press seam between piece 1 and piece 2.
Step 7: Repeat steps 4-6 for all sections.
Step 8: Once you have all sections sewn to the paper, trim your unit along the dotted lines (this is your seam allowance).
*Do NOT remove the paper until you have completed Step 8*


