Use the FREE GO! Gingham Dog Embroidery Designs download available to finish your project. Each shape includes motif, blanket and satin stitches.
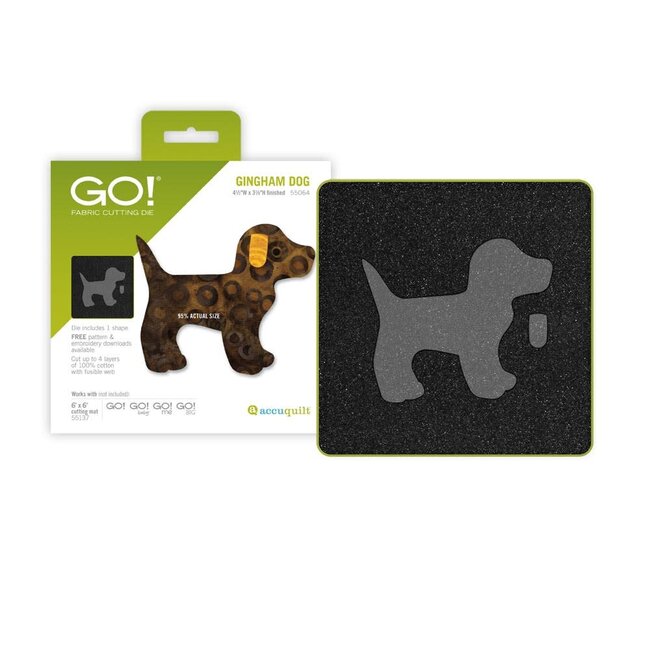
Cut Size: Dog: 4 1/2"W x 3 7/8"H (11.4 cm x 9.8 cm), Ear: 7/16"W x 13/16"H (1.1 cm x 2.1 cm)
Finished Size: 4 1/2"W x 3 7/8"H (11.4 cm x 9.8 cm)
Die Board Size: 6 in. x 6 in. (15.2 cm x 15.2 cm)
AQ Cutting Mat Required: GO! Cutting Mat, 6 in. x 6 in. (15.2 cm x 15.2 cm)
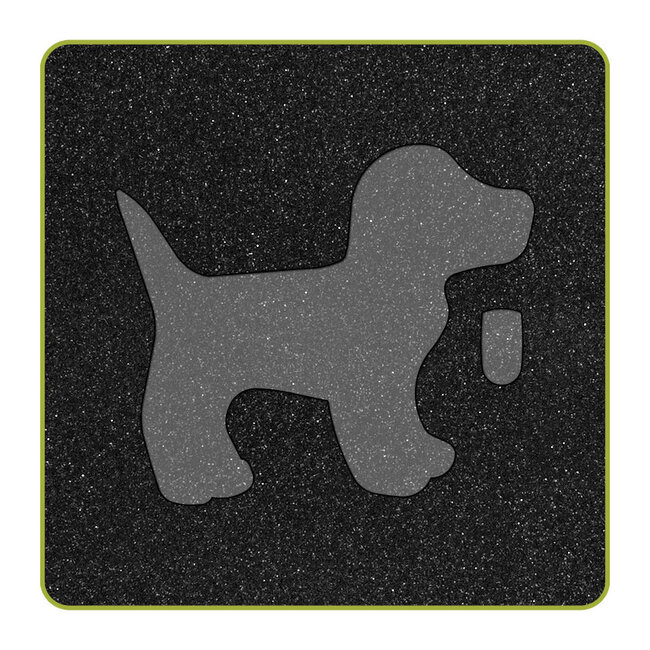
How to Die Cut Gingham Dog Shapes:
Apply fusible web product to the wrong side of the fabric, following manufacturer’s instructions, before cutting for fusible appliqué. Place fabric on die right sides together to cut pairs.
- Dog: Cut and fuse 5" x 4 3/8" rectangles. Layer on selected blade and cut. Cut nine dogs across the width of fabric. One yard of 40" wide fabric cuts 63 dogs.
- Ear: Place scraps on blade and cut.
Why Quilters Love the GO! Gingham Dog Die:
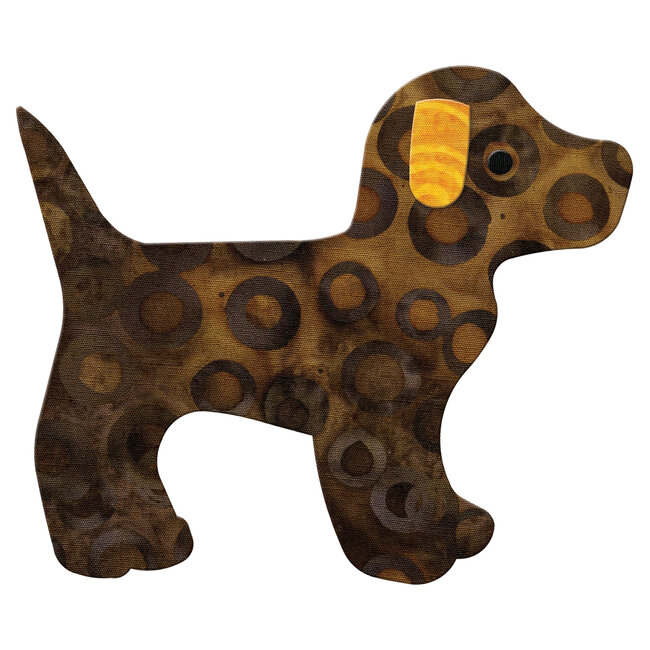
- We love our pets and we love to quilt. It just makes sense to pair the two together. The GO! Gingham Dog is a cute puppy silhouette that makes fun wall hangings, quilts for the animal-lovers in your life, children’s projects or appliques on all sorts of projects.
- No templates required. The GO! Gingham Dog die includes an applique shape that is typically difficult to cut by hand.
- Quickly and easily cut four of each pre-fused applique shape in one pass thru the cutter (fusible counts as one half layer of fabric).
- Cut dog shapes out of a variety of fabrics: cotton, batiks, wool, felt, flannel, fleece, Cuddle® fabrics and more!
- A great way to use up scraps.
- Includes free embroidery download with 3 stitches ($14 value).
- Free pattern downloads available to get you started.
- Charm Pack-friendly.
AccuQuilt Benefits:
- Cut so much more fabric in less time.
- Get accurate cuts every time -- No slipping rulers or mistakes
- Easiest to use -- Simply place die on cutter, then fabric and cutting mat on top
- Save fabric with Two Tone Foam -- Get more out of your fabric by placing it only over the shape you want to cut.
- Safe to use -- No blades come anywhere near your fingers
Die Tips:
- With some fabrics, after cutting, a thread or two will remain where die blades meet. Snip threads with scissors.
- Blades on some dies are positioned at an angle. Align fabric to edge of shape, not edge of die board.
- Use good quality fabric to reduce fabric stretch.
- It's always a good idea to test cut one shape before cutting many shapes to ensure fabric orientation is correct.