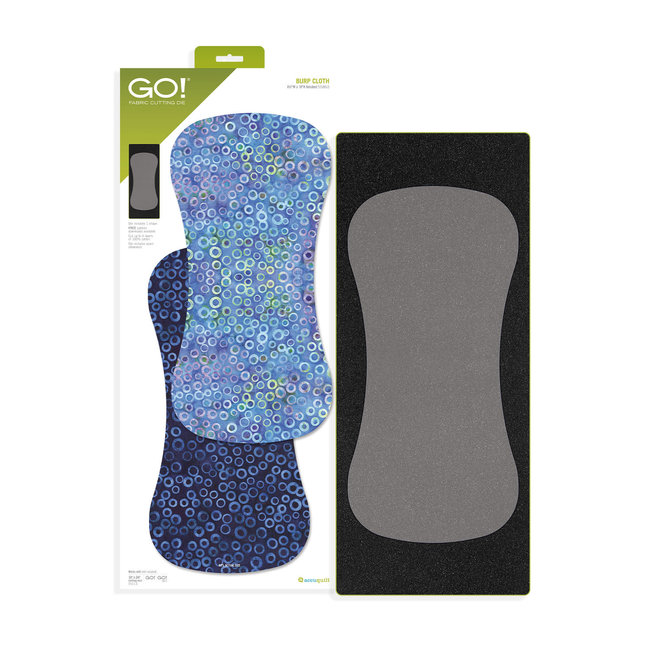
Make it personal! The GO! Burp Cloth is designed to work with appliqué shapes that are 7" x 5" or smaller, such as the GO! Carefree Uppercase and GO! Carefree Lowercase Alphabet sets, or embellish your burp cloths with embroidery.
Cut Size: 9" W x 18 1/2" H (22.9 cm x 47 cm)
Finished Size: 8 1/2" W x 18" H (21.6 cm x 45.7 cm)
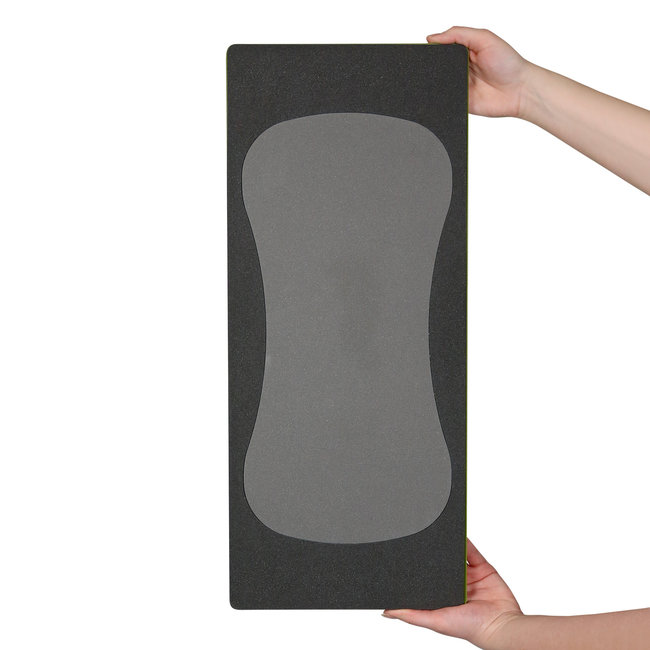
Die Board Size: 10 in. x 24 in. (25.4 cm x 61 cm)
AQ Cutting Mat Required: GO! Cutting Mat, 10 in. x 24 in. (25.4 cm x 61 cm)
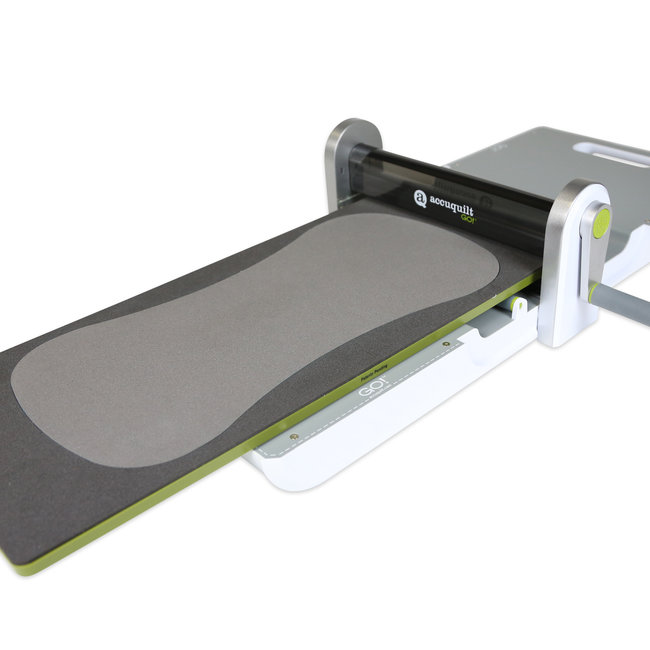
How to Die Cut Burp Cloths:
For best cutting results, position fabric on the lengthwise grain (straight of grain) as it goes under the roller.
TIP: The die is designed to cut three complete burp cloths in one pass through the cutter.
- For each color: Cut 1—19” x width of fabric (WOF) strip. Fanfold to 9 1/2” on die. Sub cut into 3 burp cloth pieces of each fabric. (6 total pieces)
Why Quilters Love the GO! Burp Cloth Die:
- Due to popular demand, the GO! Burp Cloth die is now available in both GO! And Studio.
- GO! Burp Cloth is a DIY (“do-it-yourself”) Project die. These are popular shapes of projects that you make for yourself, to give as gifts or to sell.
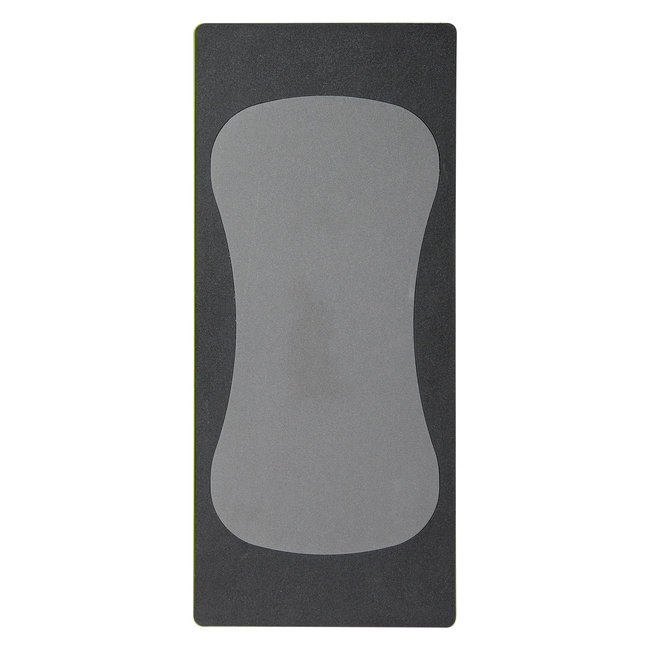
- To template required. The GO! Burp cloth die includes a perfectly symmetrical, standard-sized burp cloth shape that is typically difficult to cut by hand.
- Cut three complete burp cloths in one pass thru the cutter (two cuts needed per burp cloth).
- Make burp cloths out of a variety of fabrics cut with your GO! Burp Cloth die: flannel, terry cloth, waffle, fabric, Cuddle® fabrics, cotton and more!
- Packaging includes a free pattern to get your started.
- Fat Quarter Friendly.
AccuQuilt Benefits:
- Cut so much more fabric in less time.
- Get accurate cuts every time -- No slipping rulers or mistakes
- Easiest to use -- Simply place die on cutter, then fabric and cutting mat on top
- Save fabric with Two Tone Foam -- Get more out of your fabric by placing it only over the shape you want to cut.
- Safe to use -- No blades come anywhere near your fingers.
Die Tips:
- With some fabrics, after cutting, a thread or two will remain where die blades meet. Snip threads with scissors.
- Use cutting mats that matches size of each die.
- For best results, cut with die blades running under roller at an angle. Do not cut with blades parallel to roller.
- Blades on some dies are positioned at an angle. Align fabric to edge of shape, not edge of die board.
- Some dies feature specially designed corners to aid in alignment and pre-cutting.
- For fast applique, apply fusible web to fabrics, then cut shapes with dies.
- Use good quality fabric to reduce fabric stretch.
- It's always a good idea to test cut one shape before cutting many shapes to ensure fabric orientation is correct.